Using heat tape on an RV water hose
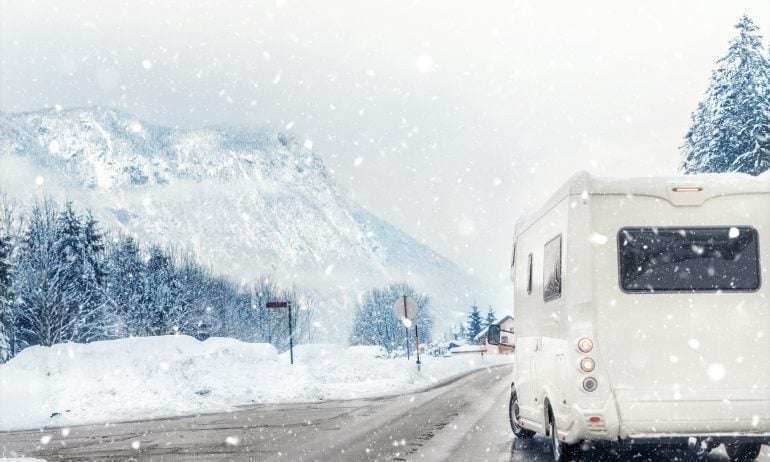
When talking about winter holidays in an RV, a lot of people choose warmer climates like Florida and Arizona. For those of you that like to spend your winters at temperatures below freezing, probably somewhere in the middle of a majestic winter wonderland, you already should know how to winterize your RV.
One of the steps in preparing your RV for winter temperatures is making sure the water in your water hose doesn’t get frozen. Using water in your RV is essential when camping for longer periods of time, especially in the plumbing part, if you know what I mean.
Why do you need Heat Tape?
You could invest in a heated RV water hose, which automatically starts warming up when the temperature drops below a certain point, to prevent your hose from freezing. But a lot of RVers have negative feedback about heated water hoses, saying they’re expensive and they’re not durable; they usually break down after a short time. You don’t want to be stranded in the middle of nowhere when your heated water hose breaks down.
That’s where the heat tape comes in.
What is a Heat Tape?
Heat tape, also known as heat cable or heating cable, is a product that is designed to provide warmth to pipes and hoses to prevent them from freezing. Heat tape consists of a heating element wrapped around the hose or pipe and is controlled by a thermostat that turns the heat on and off, as needed.
There are two types of heat tapes: self-regulating heat tape, which automatically adjust the amount of heat it produces based on the temperature of the surrounding environment; and constant wattage heat tape, which produces a fixed amount of heat regardless of the temperature of the surrounding environment.
Heat tape can be purchased in most hardware and home improvement stores, and it’s really easy to use.
In fact, you can make your own heated RV water hose in no time. We’ll show you how.
How to use Heat Tape and make your own Heated RV Water Hose
You can use your heat tape and make your own heated RV water hose as a DIY project. The cost difference between a store-bought heated water hose and a DIY heated water hose is pretty substantial. The process is really simple and we’ll guide you through it.
Here are the materials you will need:
-
- Electric heat tape: A self-regulating heat tape that is designed for use with water hoses. You can purchase heat tape at your local hardware store.
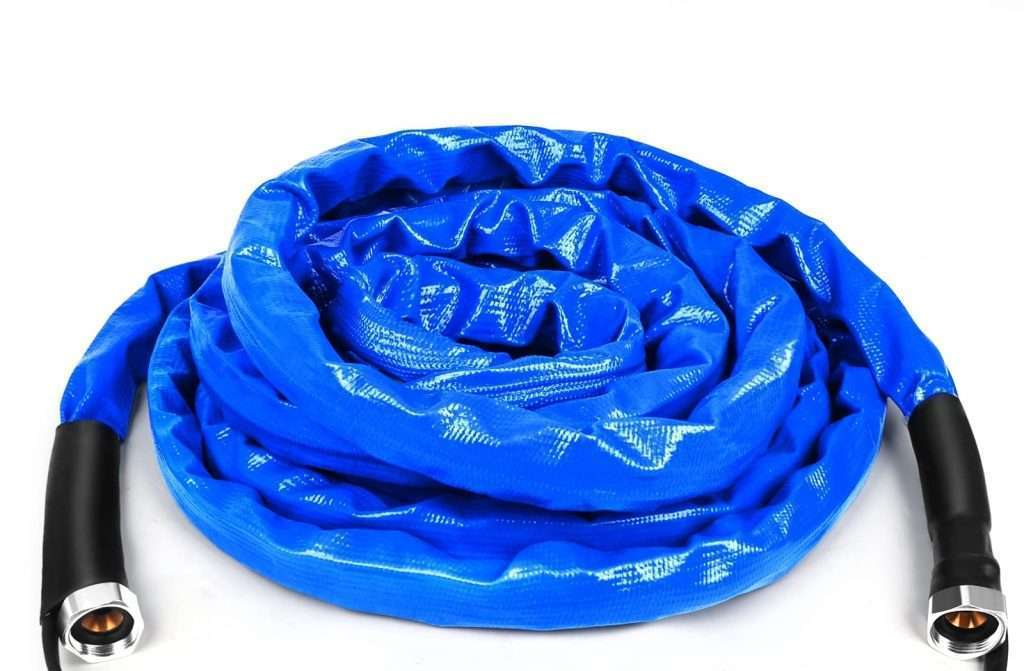
- RV water hose: A standard RV water hose that is suitable for drinking water.
- Duct tape: Duct tape secures the heat tape and insulation in place.
- Foam Pipe Insulation Tubes: They help keep the heat inside the hose. Make sure to choose insulation that is appropriate for the size of your hose.
- Aluminum Foil
- GFCI outlet: GFCI (ground fault circuit interrupter) outlet to plug the heat tape into. This will help to prevent electrical hazards.
Follow these simple steps:
-
Prepare your hose
Before you can install the heat tape, you need to prepare your RV water hose. Start by cleaning the hose with a mild detergent and warm water. Rinse the hose thoroughly and allow it to dry completely.
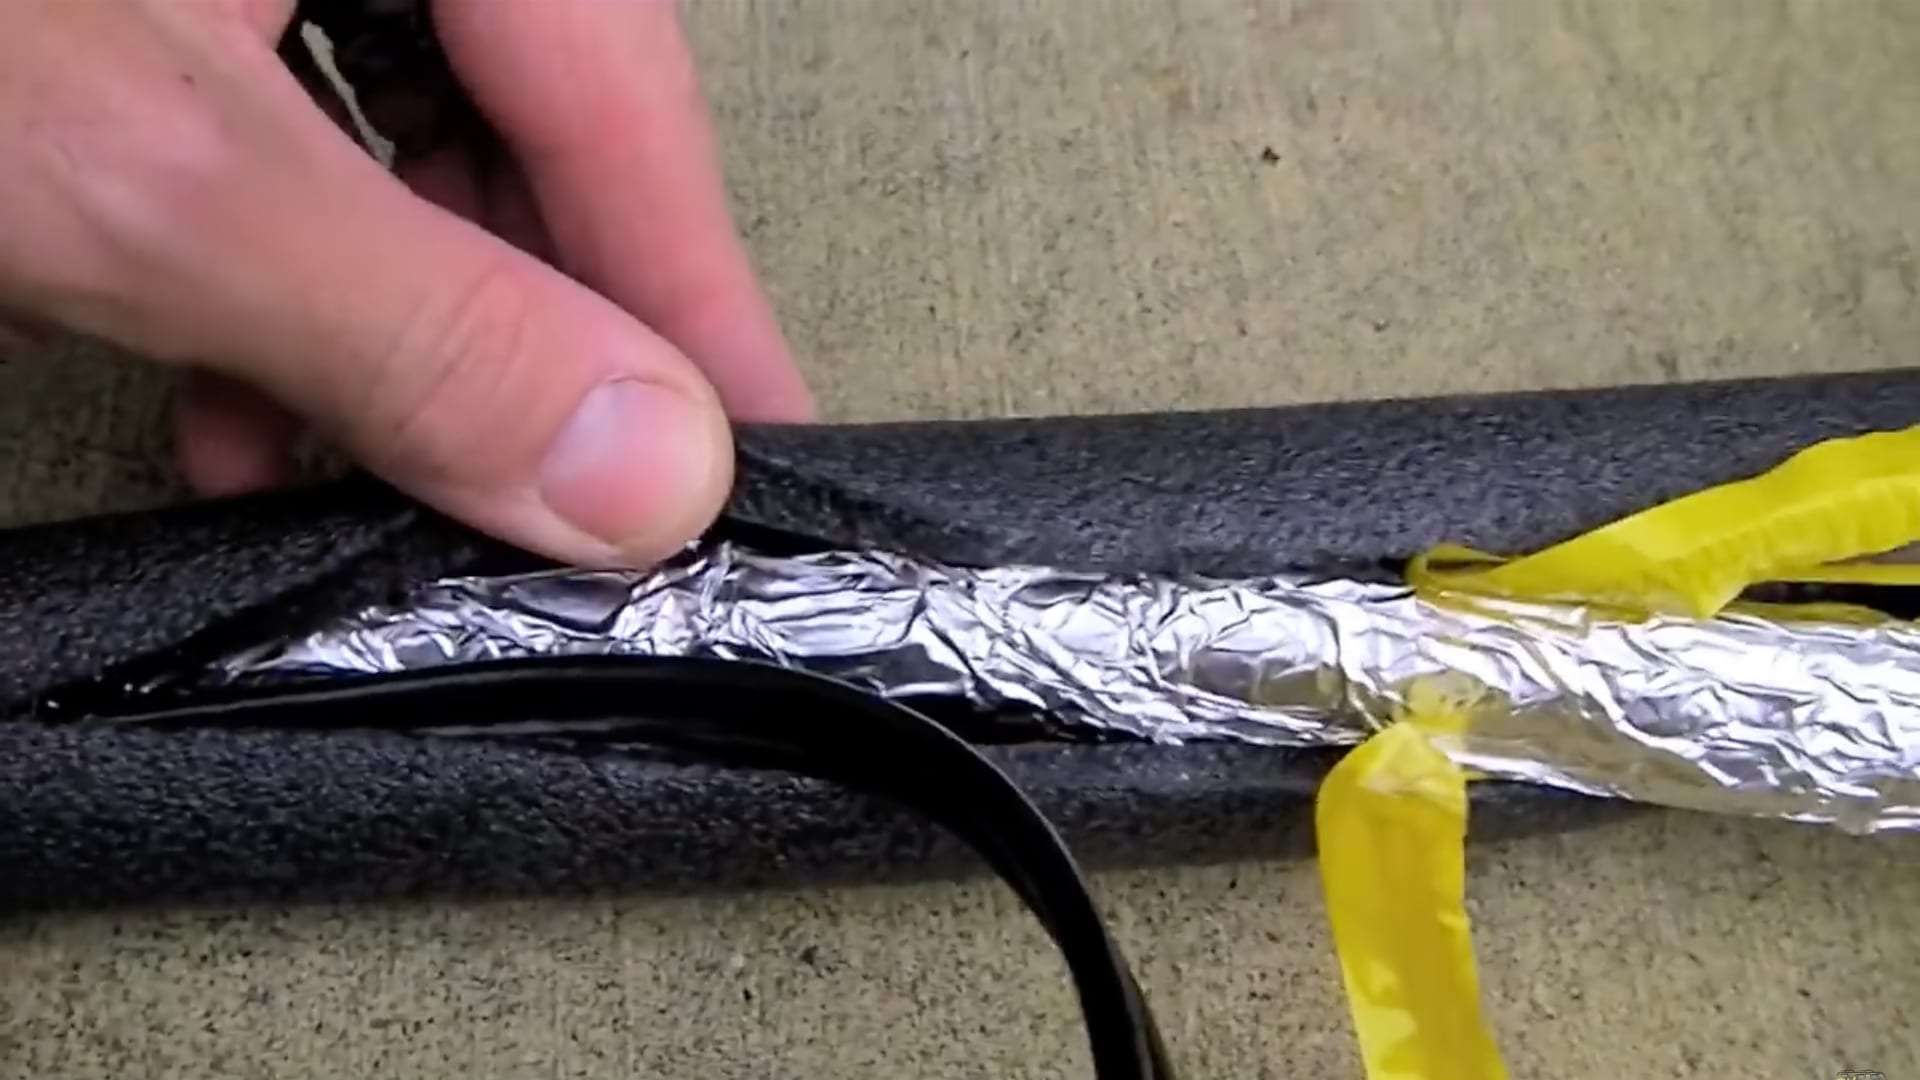
Next, wrap the hose with pipe insulation. This will help to keep the heat inside the hose and prevent it from escaping. Be sure to wrap the insulation tightly around the hose and use duct tape to secure it in place.
-
Install the heat tape
Start wrapping the heat tape around the hose, starting at one end and working your way toward the other end. Be sure to follow the manufacturer’s instructions for installation.
Secure the heat tape in place using duct tape. Be sure to overlap the tape slightly to ensure that there are no gaps where cold air can enter.
-
Plug in the heat tape
Once the heat tape is installed, it’s time to plug it in. Connect the heat tape to a GFCI outlet and test it to make sure it’s working properly. You should be able to feel the heat coming from the tape.
-
Monitor the hose
On occasion, monitor your heated RV water hose throughout the winter to make sure that it’s working properly. Check the hose regularly for signs of damage, such as cracks or leaks. If you notice any problems, stop using the hose immediately and make the necessary repairs.
Best Heated Water Hose for RV
There are many commercial heated water hoses for RVs, and after a lot of research, we found the 5 best heated water hoses. When buying an RV heated water hose, you should pay attention to a few details, such as:
-
Material of hose
-
Temperature rating
-
Diameter, hose length, connections
-
Temperature control
-
Power drawing.
Conclusion
For those of you that love spending your winters in an RV, this is a great opportunity to learn to winterize your RV equipment and be safe and sound while enjoying yourselves in winter activities. Still, it feels good to come to a warm, heated RV, take a hot shower and make some tea. Protecting your water hose from freezing with heat tape will ensure that you enjoy all the commodities of a modern RV. If you don’t want to be troubled with making your own, you can always buy a commercial heated RV water hose.


