The best way to empty your portable RV waste tank
Emptying a portable RV waste tank is a task that requires proper knowledge and proper equipment. Whether you are a seasoned RV enthusiast or a first-time owner, the following guide will help you through the steps of emptying a portable RV waste tank, ensuring you do it safely and efficiently.
What is an RV portable waste tank?
A portable RV waste tank is an essential component of your vehicle, allowing you to store and transport black water and grey water, which are generated by the RV. The tank is usually located in a compartment underneath the RV and it needs to be emptied periodically to maintain a clean and hygienic environment inside the RV.
Before starting the process of emptying a portable RV waste tank, it is important to understand the contents of the tank.
Black water is the wastewater generated by the RV toilet, and it is considered the most hazardous. Grey water is the wastewater generated by sinks, showers, and other sources and it is considered less hazardous.
How to empty your portable RV waste tank
Step 1: Gathering Equipment
To empty a portable RV waste tank, you’ll need:
– Sewer hose and support
– Gloves and protective gear
– Tank rinser.
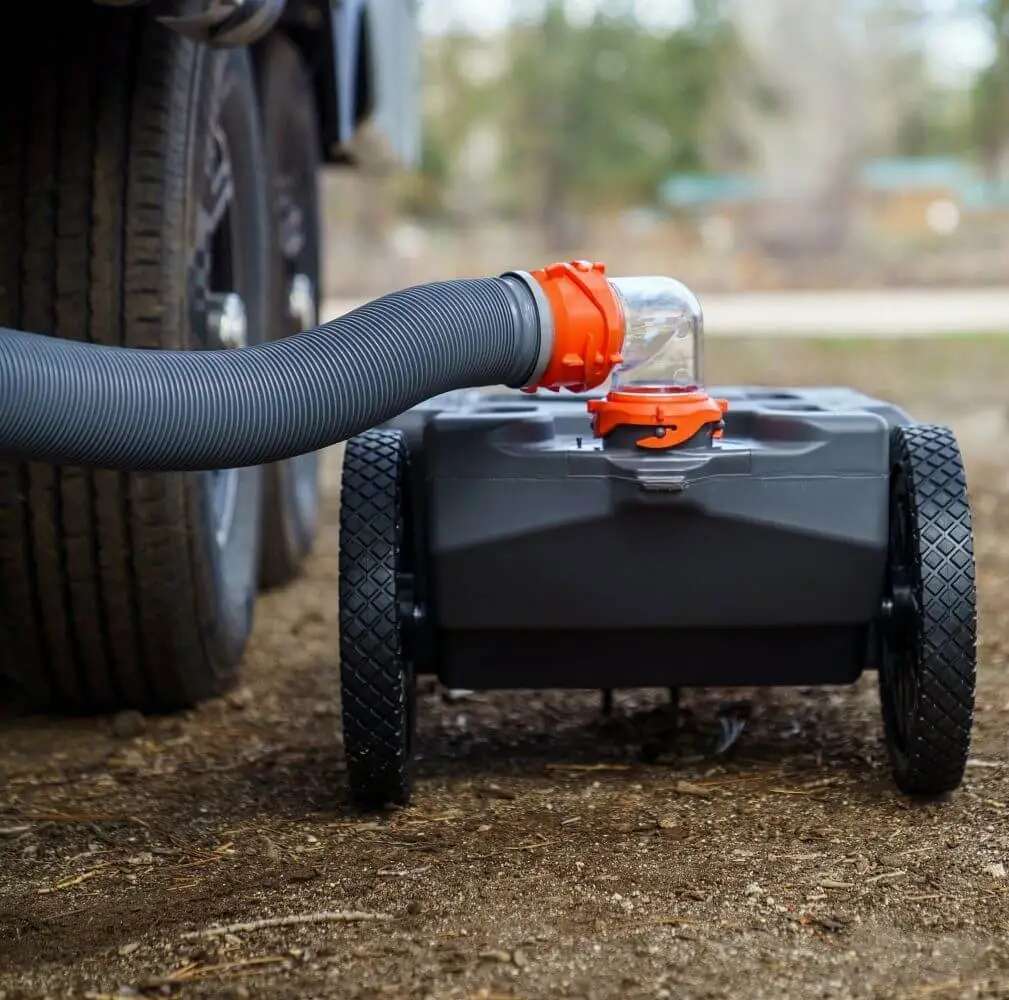
A sewer hose is a flexible hose that is used to transfer wastewater from the RV’s waste tank to the sewer connection. The sewer hose support is used to keep the hose elevated, preventing any backflow of wastewater into the RV.
Wearing gloves and protective gear is recommended to protect yourself from any hazardous materials that may be present in the waste tank.
A tank rinser is a device that connects to the RV’s waste tank and uses a stream of water to rinse and clean the interior of the tank. This is an optional step, but it is highly recommended to keep the waste tank clean and hygienic.
Step 2: Preparation
Choose a location near a sewer connection to empty the RV’s waste tank. Make sure the location is accessible and check for any regulations or restrictions in the area before proceeding.
Park the RV in a level location, ensuring that the waste tank is at a lower elevation than the sewer connection.
Connect the sewer hose to the RV’s waste tank and to the sewer connection, making sure that the connection is secure and leak-free.
Step 3: Emptying the Tank
Turn off the water pump to prevent any water from entering the tank.
Open the RV’s waste tank valve to allow the wastewater to flow out of the tank and into the sewer connection. The process may take several minutes, depending on the size of the waste tank.
If you’re using a tank rinser, connect it to the RV’s waste tank and use it to rinse the interior of the tank. This step is important to keep the tank clean and hygienic and to prevent any odors from developing.
Once the tank has been emptied, close the RV’s waste tank valve and disconnect the sewer hose from the RV and the sewer connection.
Step 4: Maintenance
Clean the sewer hose thoroughly after each use to prevent any odors or buildup of waste.
Store the sewer hose, support, and tank rinser in a clean and dry location, and make sure that they are ready for use the next time you need to empty the RV’s waste tank.
Step 5: Disinfecting the Tank
After emptying the tank, it is important to disinfect the interior to prevent any harmful bacteria or odors from developing. To disinfect the tank, mix a solution of water and a disinfectant, such as bleach or a specialized RV waste tank cleaner, and pour it into the tank. Allow the solution to sit for several hours, or overnight if possible, before flushing it out with clean water.
After allowing the disinfectant solution to sit, flush the tank with clean water to remove any remaining residue. This step is important to prevent any harmful chemicals from entering the sewer system.
Step 6: Proper Disposal of Waste Water
It is important to know and follow the regulations for the proper disposal of wastewater, as some areas may have restrictions or penalties for improper disposal. Make sure to research the regulations in your area before disposing of the wastewater.
Use an approved disposal site for the disposal of wastewater, such as a dump station or a designated RV park. Avoid disposing of wastewater in public areas, such as street gutters or alleys, as this can be illegal and harmful to the environment.
Practice good hygiene when disposing of wastewater, as it can contain harmful bacteria and other contaminants. Wear gloves and wash your hands thoroughly after handling the sewer hose and the RV waste tank.
Step 7: Proper Maintenance of the RV’s Waste Tank
Regularly inspect the RV’s waste tank and the sewer hose for any signs of damage or leaks. Replace any damaged parts as needed to prevent any spills or leaks from occurring.
Store the RV’s waste tank in a clean and dry location, and make sure that it is protected from any potential damage or exposure to the elements.
Clean the RV’s waste tank periodically to prevent any buildup of waste or odors from developing. Use a specialized RV waste tank cleaner or a solution of water and bleach to clean the interior of the tank as was previously described.
Best Portable RV Dump Tanks
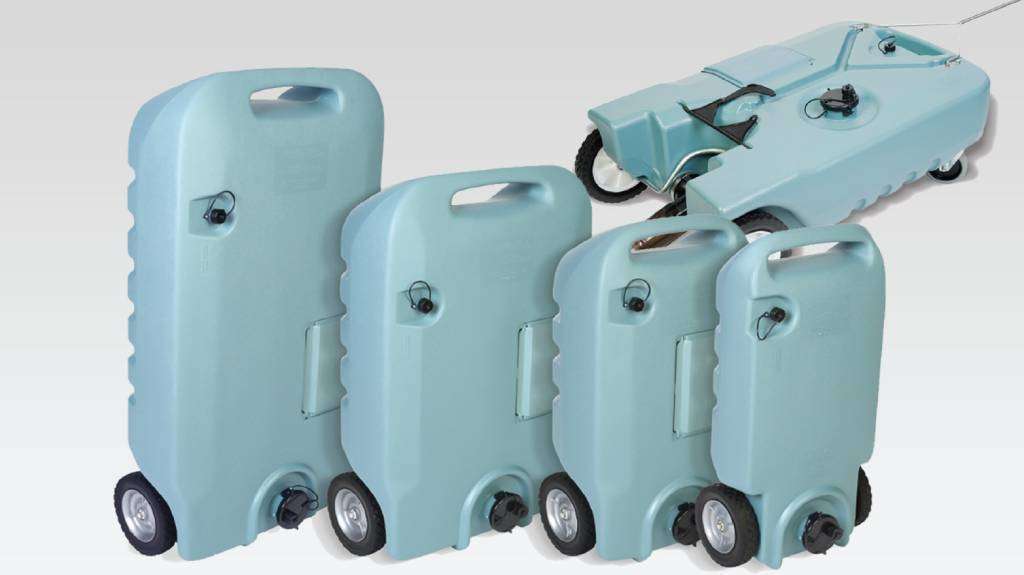
While traveling on the road, it’s not easy to find a private area to dump your RV’s waste. Some areas don’t even have an RV dump station. That’s why you should have a portable dump tank. With a portable dump tank, you’ll never again have to worry about finding a campground to dump your waste.
How to choose the best portable RV dump tank? In our previous article, we reviewed the 5 Best Portable RV Dump Tanks on the market. We’ve also covered the key features, such as tank capacity, wheels, flash valves, transportability, and easy storage.
Final thoughts
Emptying a portable RV waste tank is not an easy task. It requires preparation, knowledge, and proper equipment. This is not a fun part of your RV experience, but it is an essential part if you want to keep using your RV for years to come.
By following the steps outlined in this article, you can ensure a safe and clean process that will protect your RV and the environment. Regular maintenance and proper disposal of wastewater are also important to maintain the health and hygiene of your RV and the people in it.


