How to Remove RV Ceiling Panels
Removing and replacing RV panels to uplift the coach’s appearance is great. However, replacing the RV ceiling panel including removing and mounting is a challenging task.
The primary issue most people face is they can’t install it without harming the walls and cabinetry of their rooms. But do not worry; in this article, we will tell you how to remove RV ceiling panels safely.
Read this article to the very end.
Steps to Remove Your RV Ceiling Panels
You must follow here to take down your RV ceiling panels without affecting the walls and cabinetry.
The best way to do this is to strip the vinyl covering first and use a Masonite board to replace it. The Masonite board is pretty versatile and accepts both wallpapers and paint.
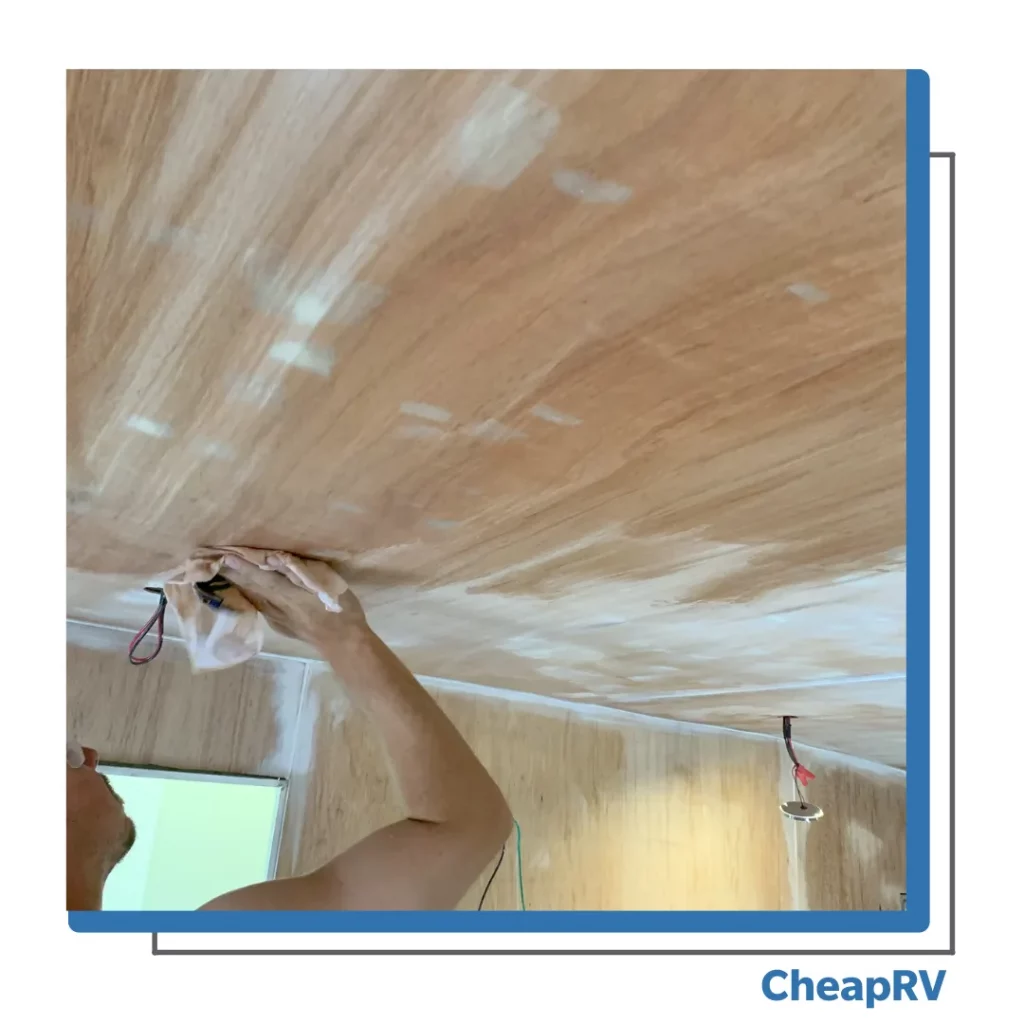
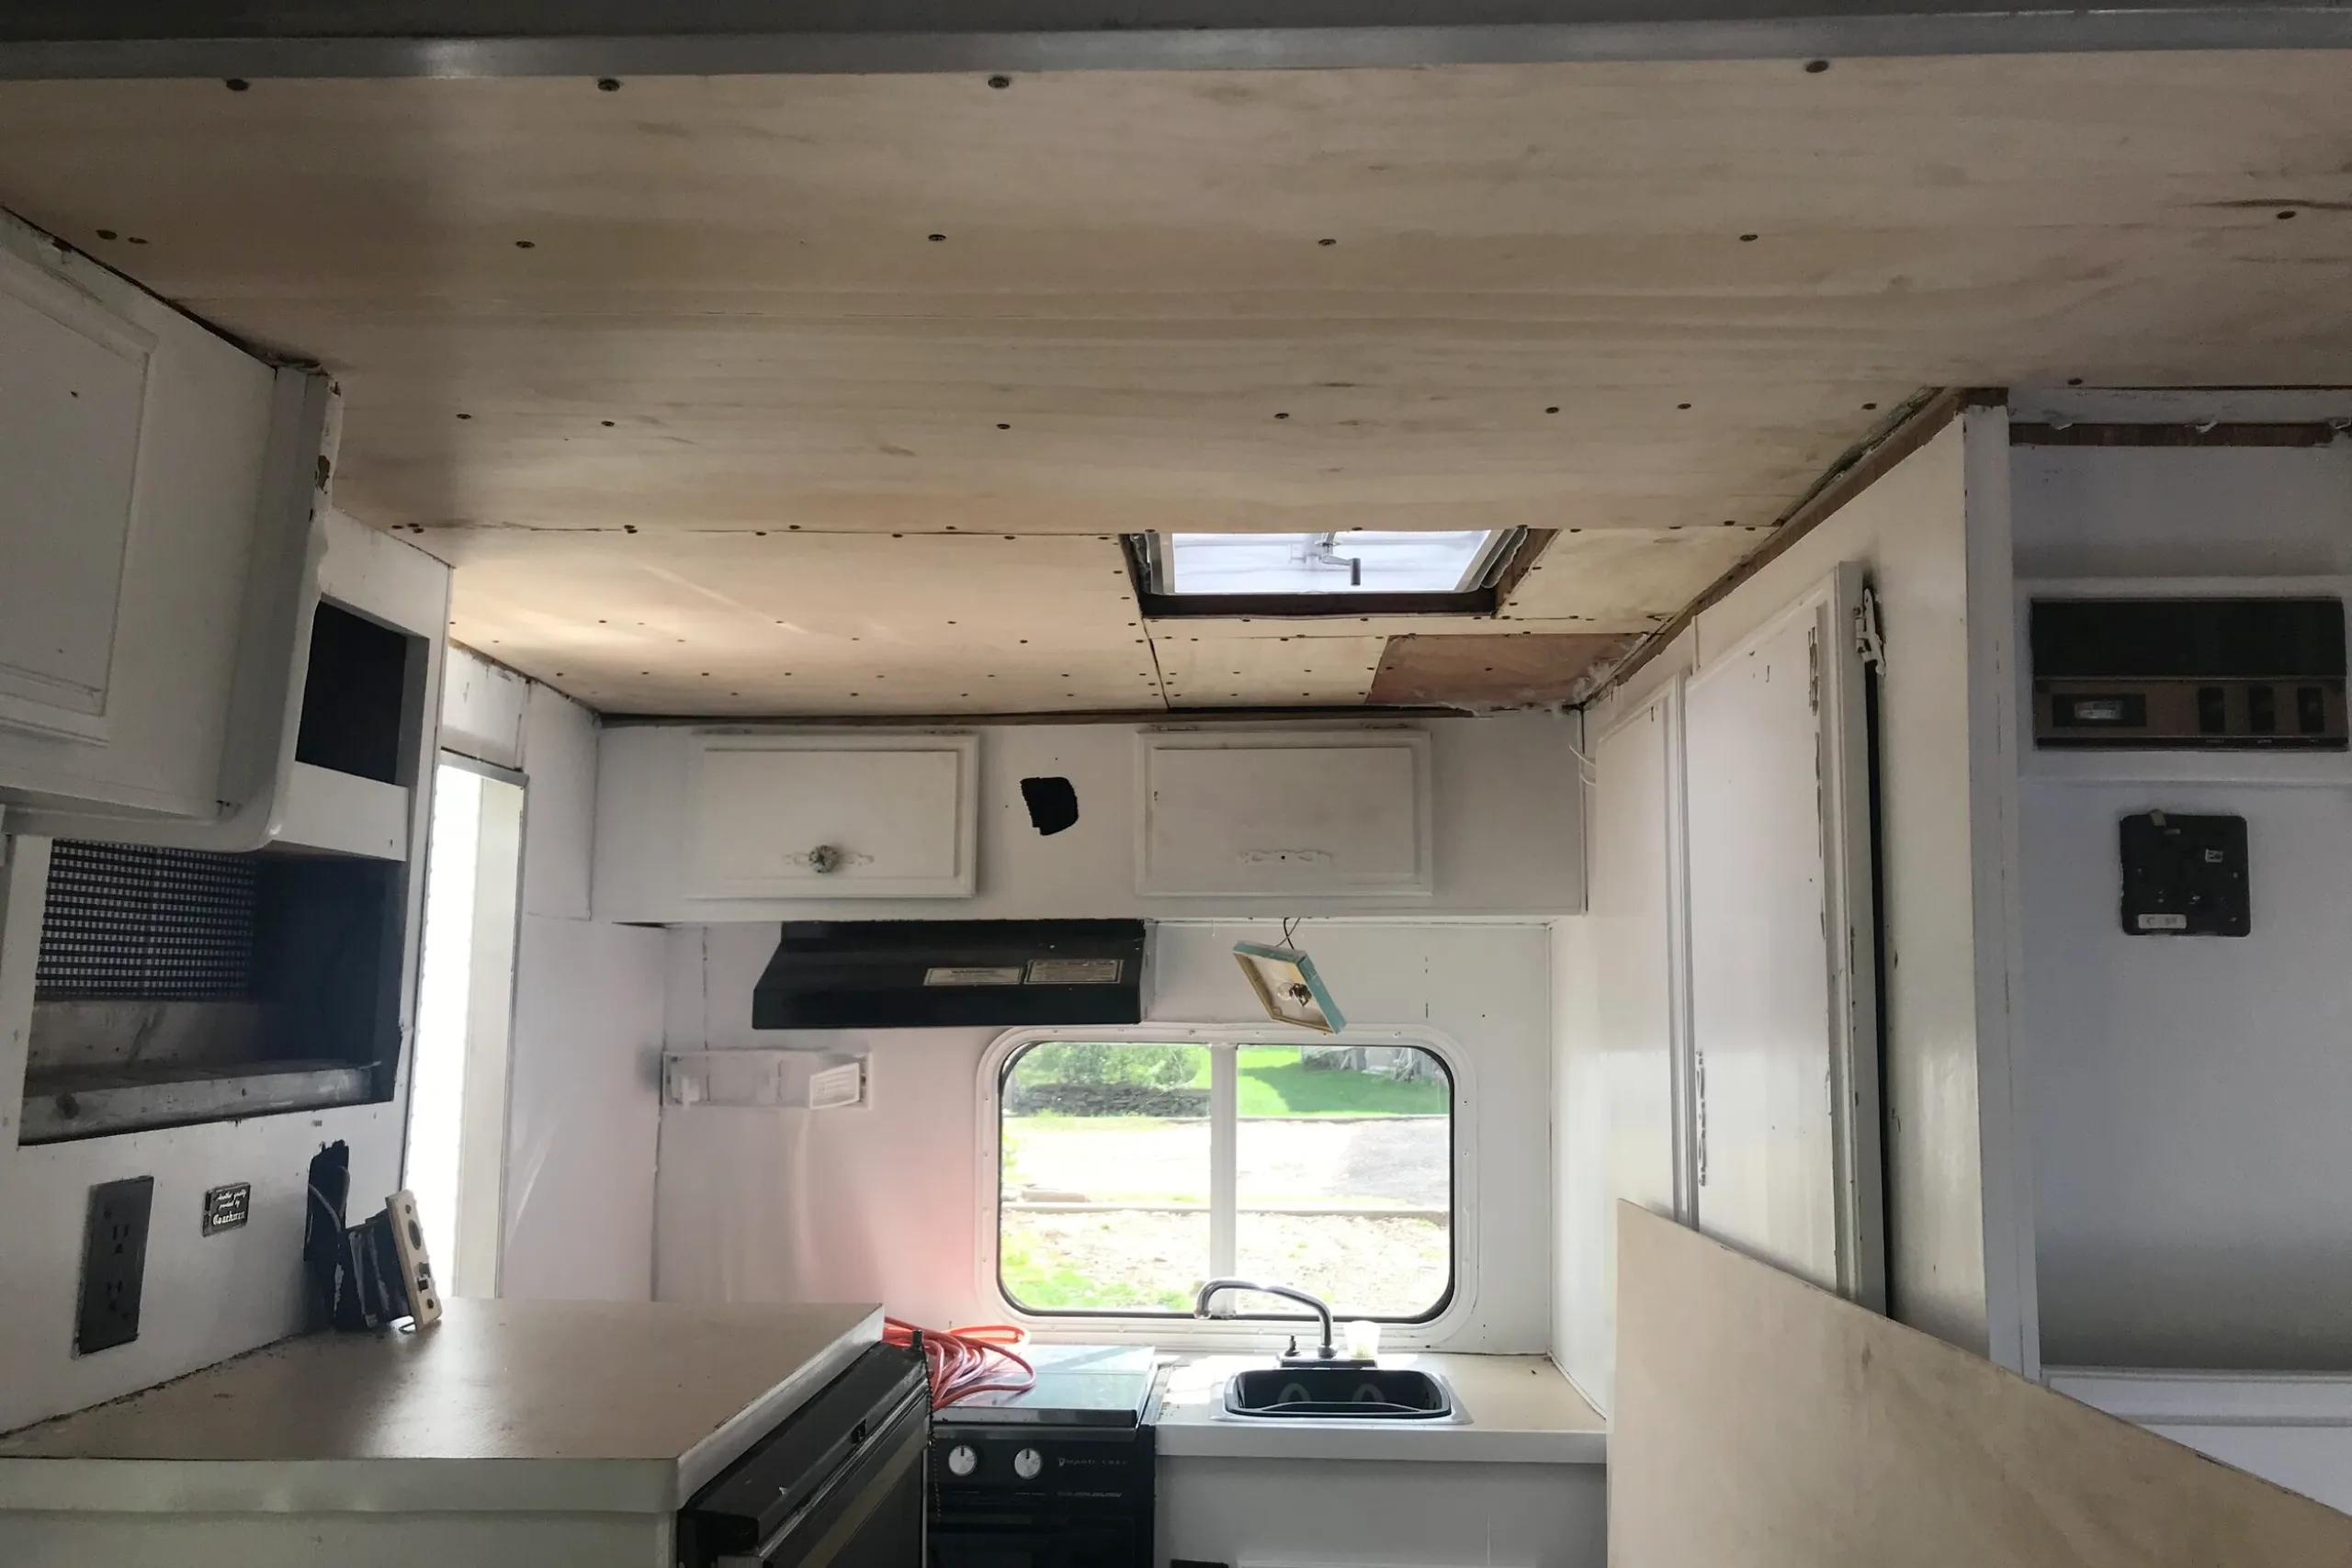
First, with the help of a butter knife or crowbar, remove the vinyl. Safely peel the corners down and gently pull them up using your hands. Try to remove as much vinyl as possible. Do it carefully, as the chances of causing structural damage are high. You will get see exposed wood when done.
Second, take measurements and cut the Masonite board according to requirements. Then, with the help of adhesive glue or nails, secure the board onto the roof’s surface. Now, you may paint it or apply wallpaper.
Third, it is time to move to install new RV panels. Take appropriate measurements for each panel, and cut the panels. Trace the points using a pencil on all the corners, as you will have to secure the panels with nails. Then, start installing the panels from a corner.
Lastly, finish the project by applying new vinyl covers on the new panels. Again, use the same construction adhesive to secure the covers or use nails.
Pro Tip: Before you remove all the panels, research the coach’s design. Researching will help you locate interior wires and pipes. Then, to lift the panels, use crowbars.
What Are The RV Ceiling Panels Made of?
The RV panels are typically made of 1/8th-inch thick plywood with fancy wallpaper. But, again, if you wish to have something high-end, you can find panels made of fiberglass, plastic, metal, etc.
4 Alternative Ideas for RV Ceiling
If you are planning to renovate your RV, here are some of the best RV ceiling ideas that will help you add some character to your coach.
#1 Metal Panels
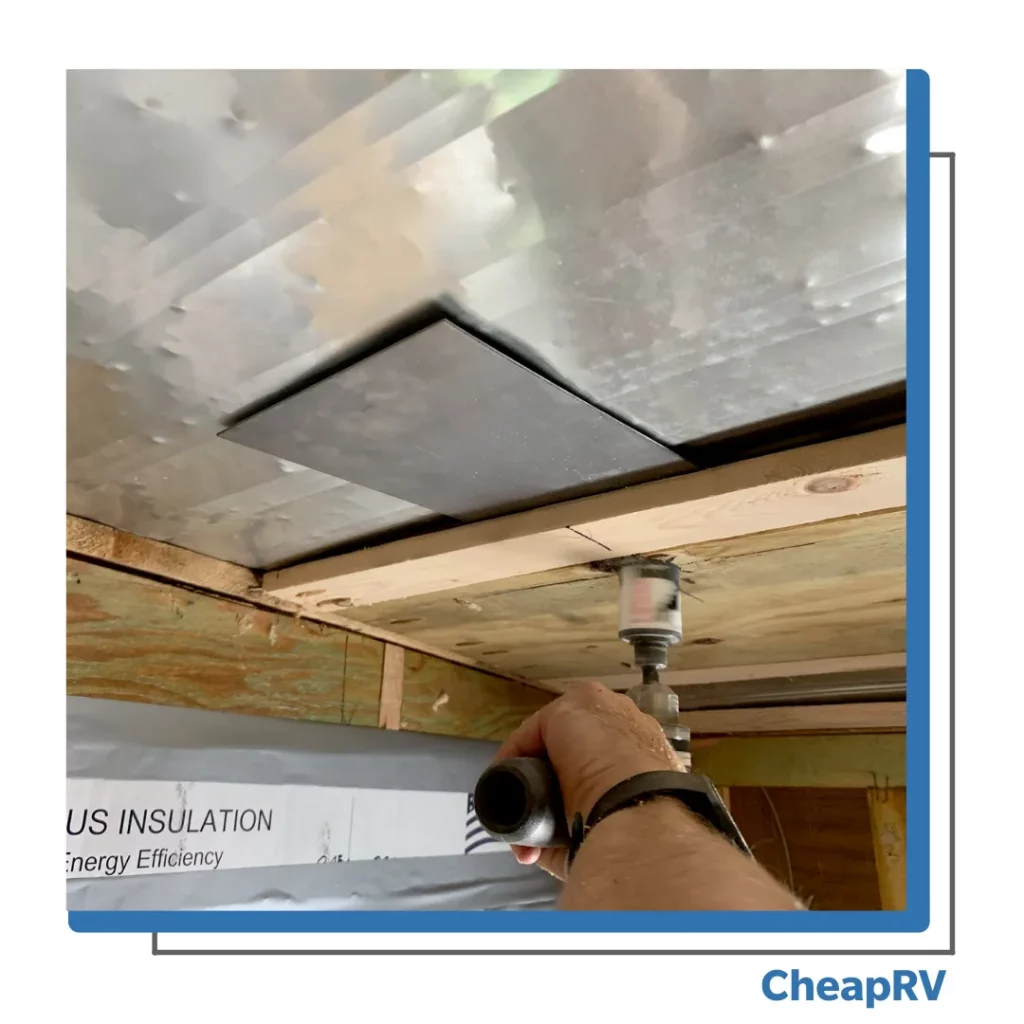
If you wish to have a durable RV ceiling, go for metal panels because they need minimal maintenance and don’t retain moisture.
Also, these features hassle-free installation, and you can apply your desired color to customize the panel’s look. So if you like modern décor, metal panels are a worthy choice.
#2 Wood Planks
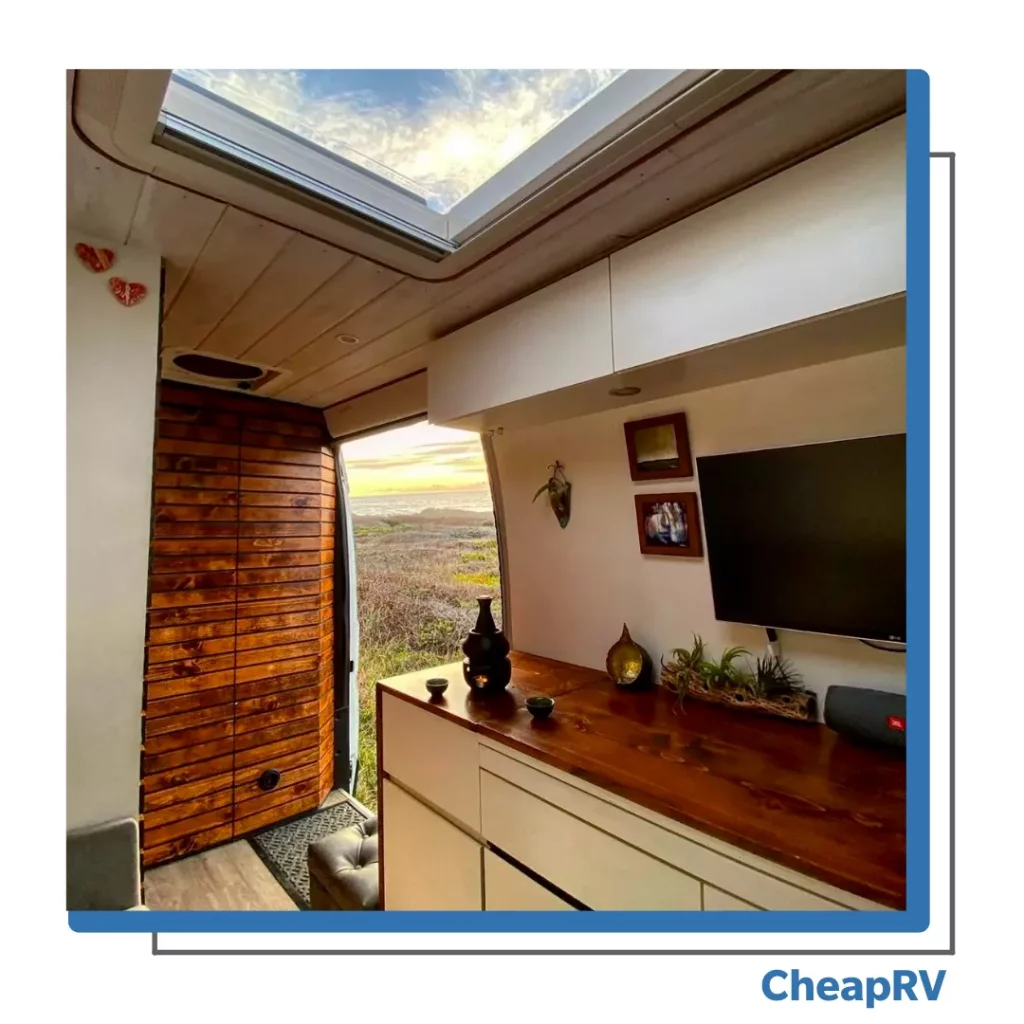
Opt for the wood plank to give the coach a natural look. You will have many choices, from tongue and groove planks to plywood. But it also depends on your budget and your mastery of carpentry skills.
These are paint-friendly, lightweight, and comparatively easy to install.
#3 Vinyl
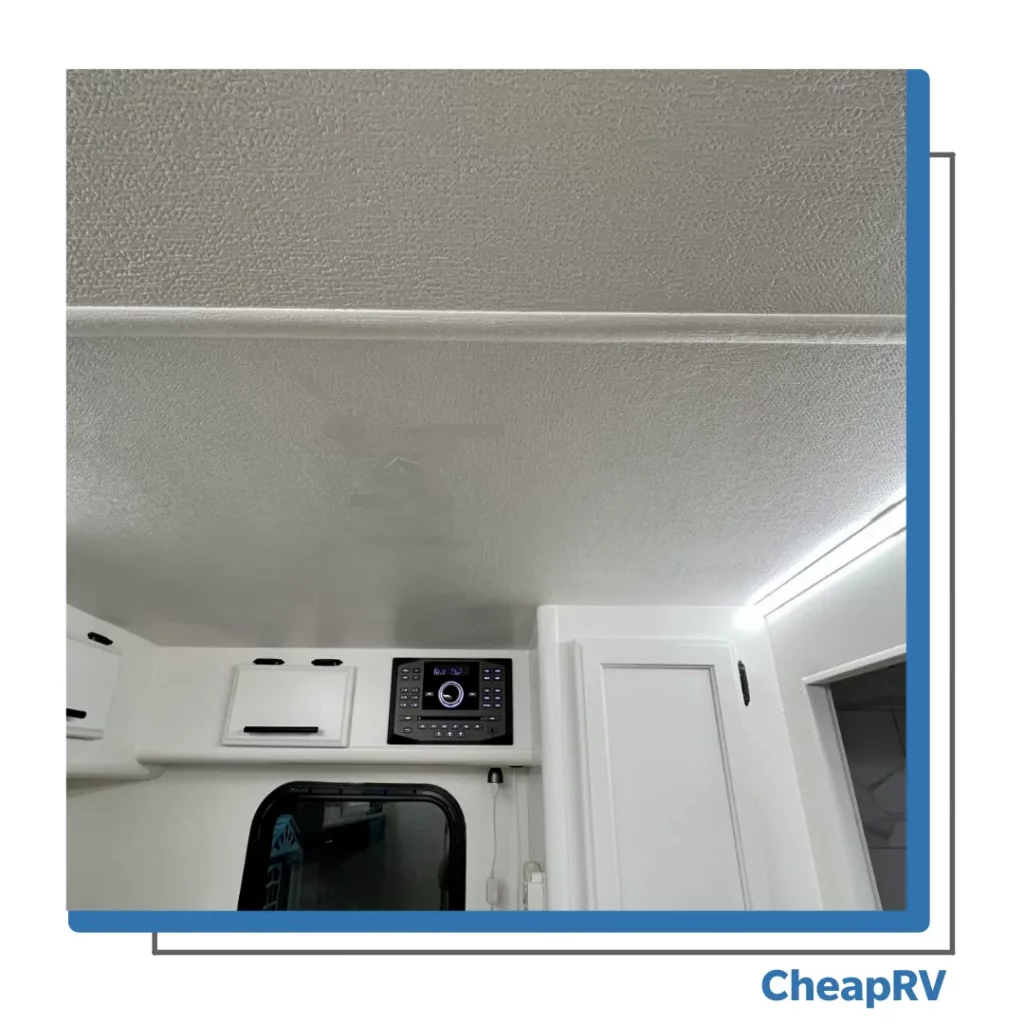
You can also opt for PVC tiles or vinyl. They are durable and can withstand temperature fluctuations and high humidity as well.
Vinyl is the best option for kitchen and bathroom areas. They are easily customizable, paint-friendly, and have a long usable life.
#4 Coverings
Even fabric ceiling covers are an incredible option. Simply install it using super glue or any strong adhesive. It offers extra insulation and keeps your RV at an appropriate temperature.
If you wish to simply update the look of your RV without changing the panels, this is a great option. Also, it reduces echo and softens the sound, which is a great benefit if you make podcasts or videos.
Frequently Asked Questions
Should you call in a professional or DIY to install the panels?
Replacing RV panels is tough but is still doable if you plan to do it yourself. However, if you are unsure of your skills, hire a professional to install the new panels.
What would be the best material for RV panels?
There is no best material for RV panels. You may choose the panels by considering the style and fit of your RV. Choose the best material according to your budget.
How to determine if my RV panels need to be replaced?
If you see the panel getting discolored, getting soft, or bumping out, it is time to get them replaced. But before you replace them, identify the underlying cause and fix it. Or else the new panels will face the same issues over again.
Conclusion
Removing and replacing RV panels to uplift the appearance may seem fun. But, the task is not that simple. To do so, you must be very cautious when removing panels, or you can potentially damage the inner wiring and other components inside.
Was this article helpful? Do comment below and let us know!
