How to Remove RV AC Cover
Have you considered removing your RV AC cover but do not know how? Then, you have reached the right place.
Removing your RV AC cover is pretty easy, but it gets way more difficult if they are old.
So how do you remove the RV AC cover? Do not worry; we will tell you the best method to help remove the AC cover with ease.

So, make sure you read this article till the end!
Required Equipment:
- Pliers
- Screwdrivers
- Spackle knife or Putty knife
Removing RV AC (Air Conditioner) Covers
If you have never removed RC AC covers, it can be a pain for you to do it. But with the right guide, you can do it easily.
Check on the mentioned steps and follow along.
Step #1: Look for Standing Water in The Unit
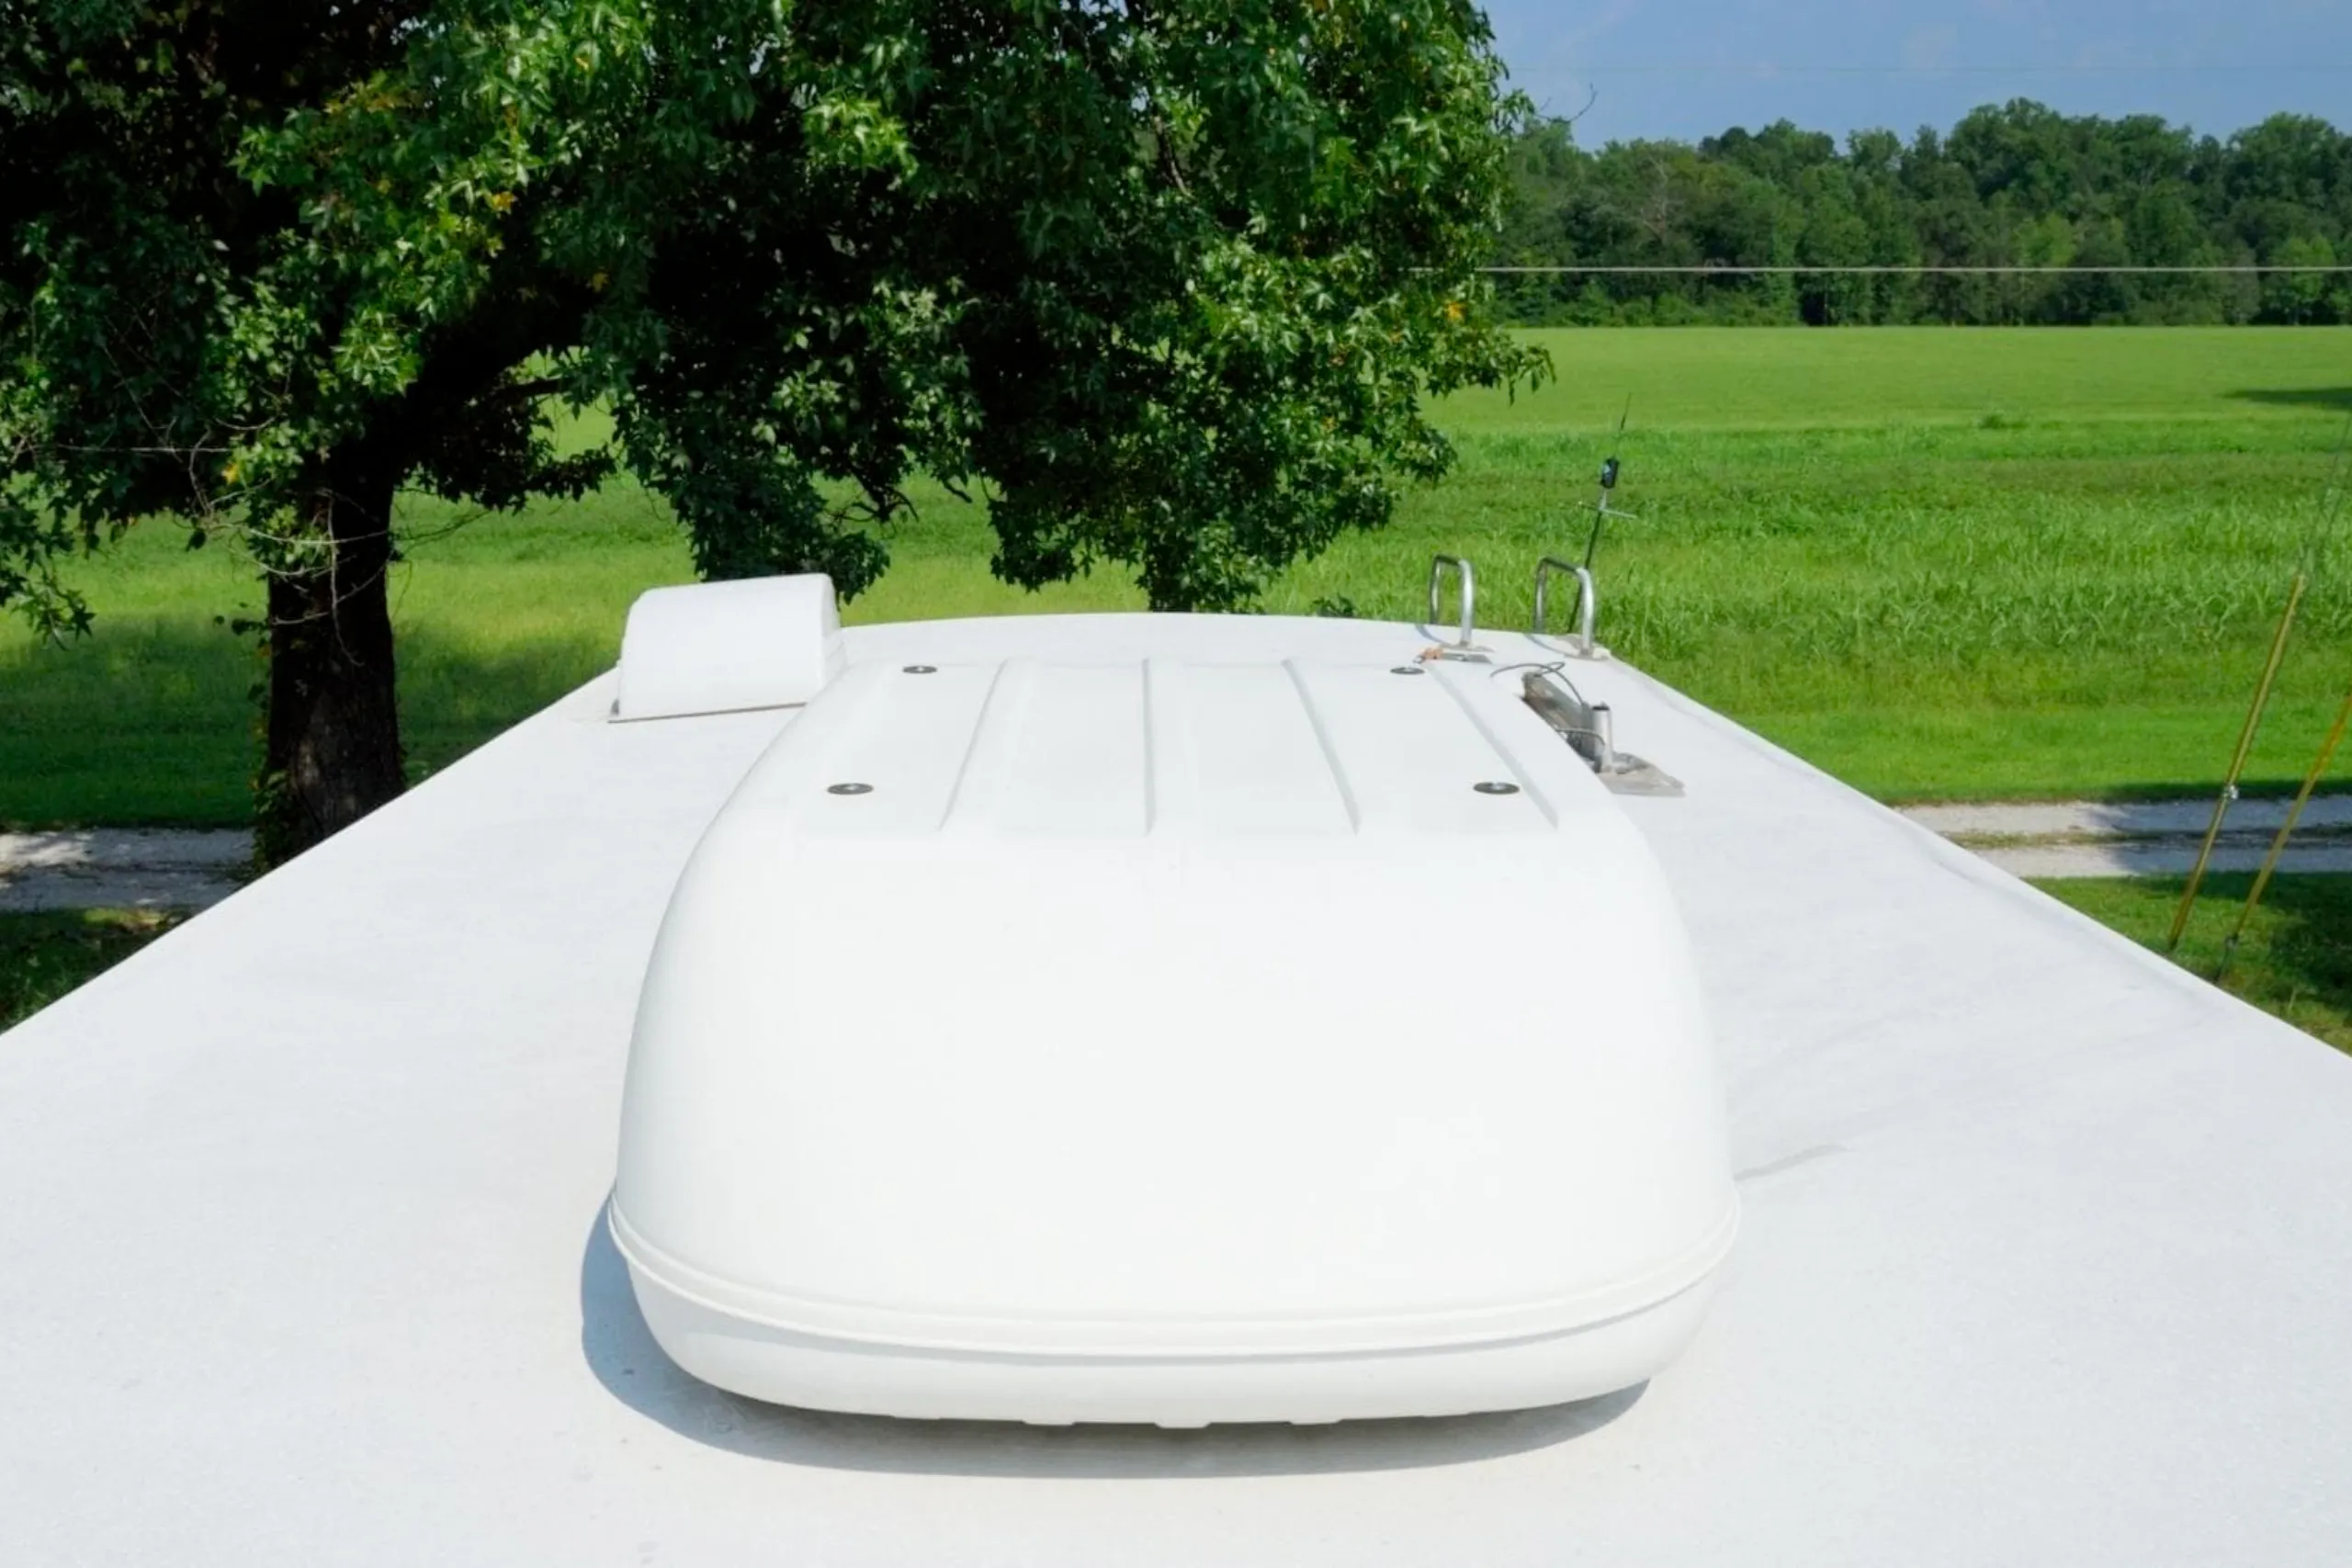
Look if there is any standing water inside the RV AC unit. If yes, drain the water out simply by removing the plastic cover.
Most units come with a spout that helps in draining the water quickly. If your unit does not feature such things, you must find another way to get the water out.
Step #2: Disconnect the Unit
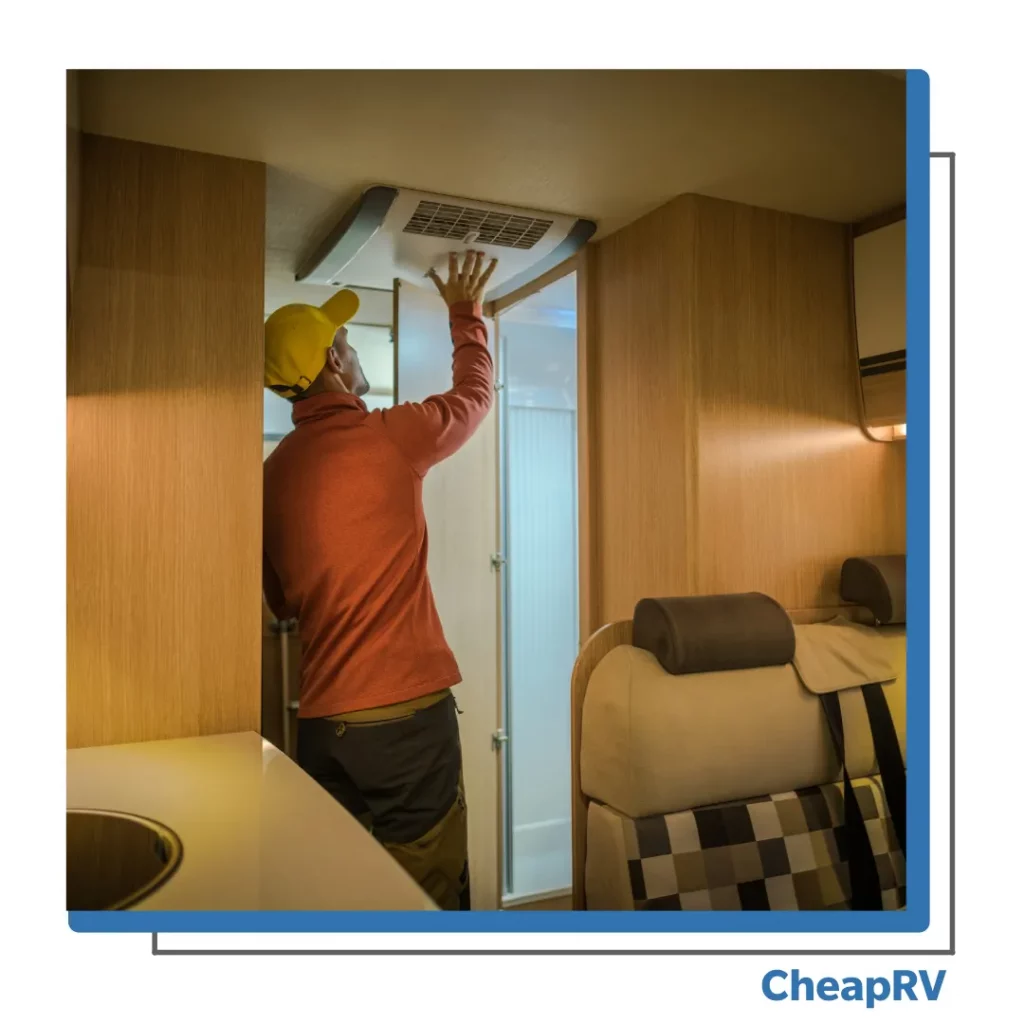
Then, make sure you have disconnected the unit from the power source. Then, disconnect all sorts of wiring from the unit.
When done, all you will do is pull up the unit to free it from its base.
Step #3: Take Out the Bolts from The Ac Cover
Once the AC unit is separated from its base, you will need to take out the bolts holding the AC cover. Remove all the bolts from top to bottom.
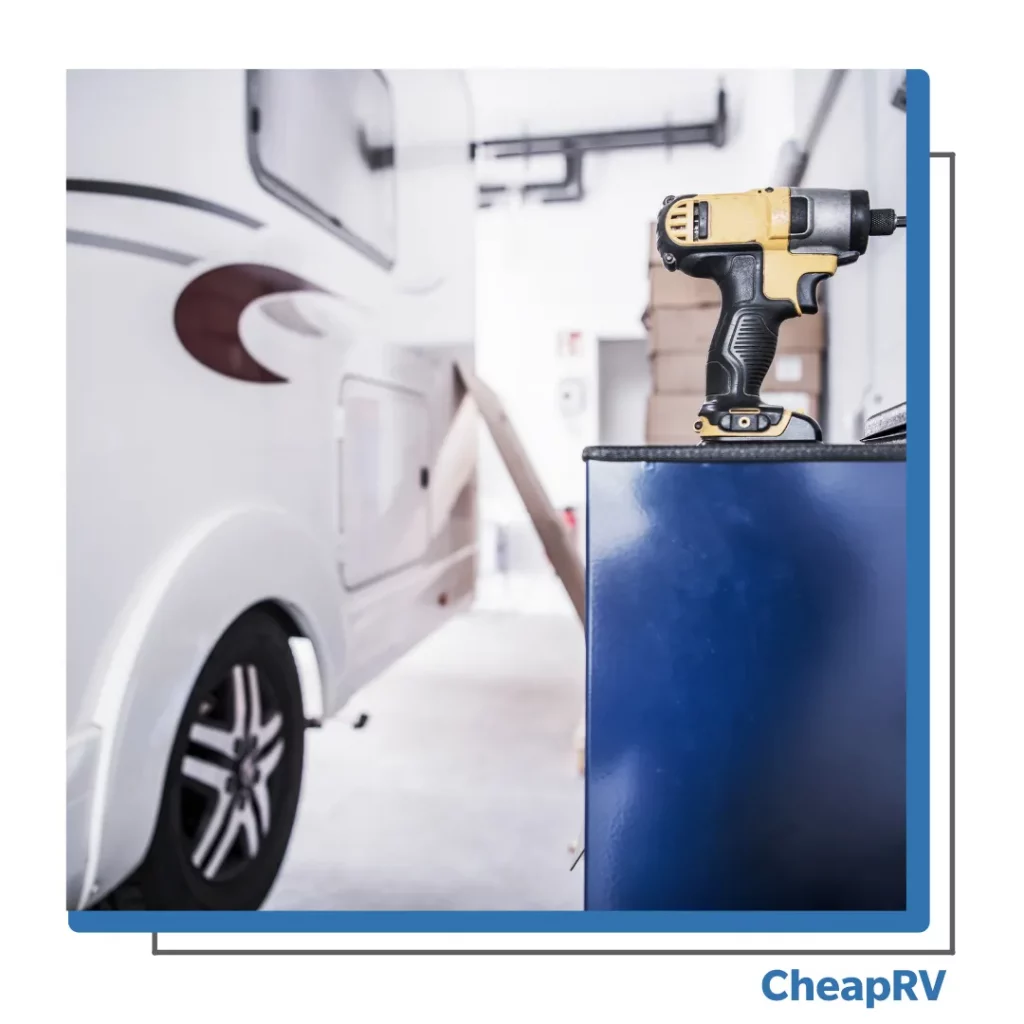
To take all the bolts out faster, you may use a drill.
Step #4: Take Out All the Screws
Besides the bolts, numerous teeny-tiny screws are used to secure the cover. Take out all the screws and keep them safe so you don’t lose them.
Step #5: Take Out the Cover with A Knife or Screwdriver
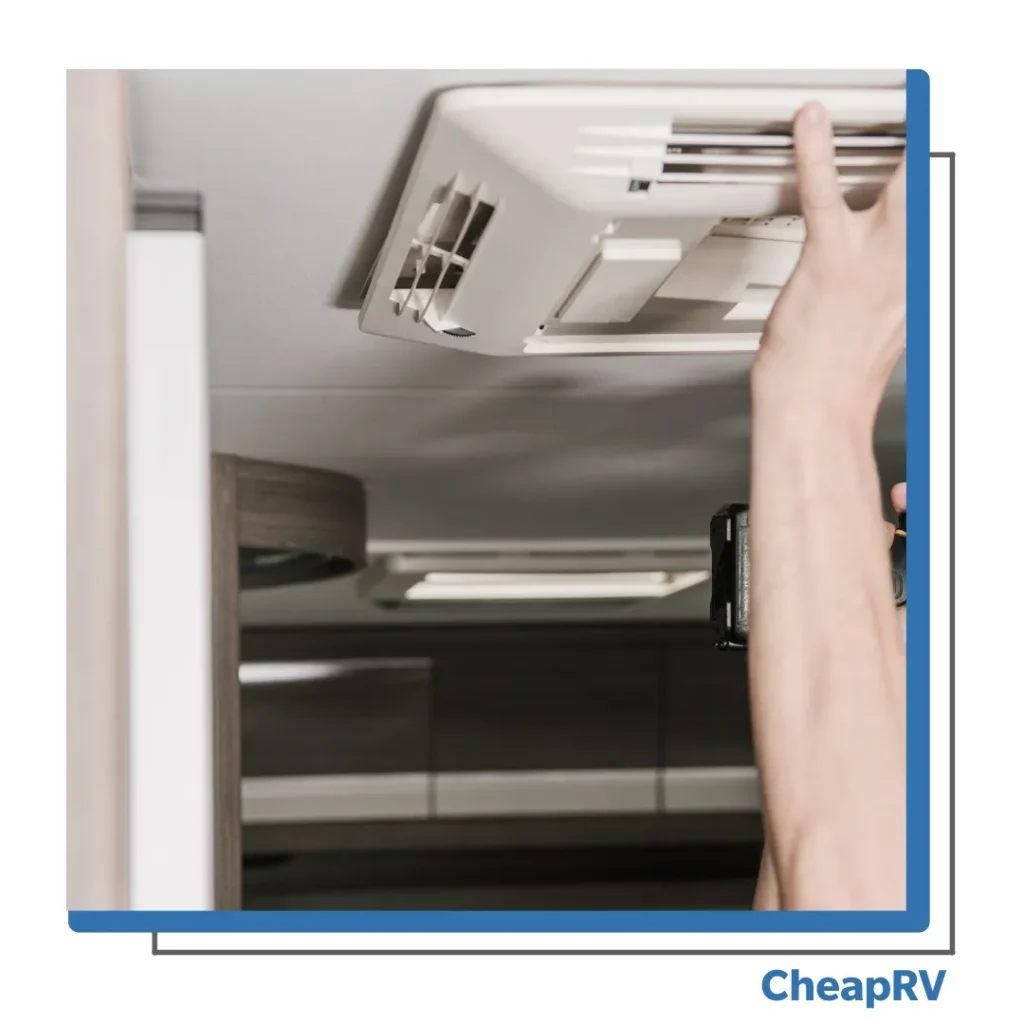
After you have removed all the screws and bolts, it is time to remove the cover. It is not complicated.
To do so, you will need flat-headed equipment such as a putty knife or a screwdriver. Slide it gently along the edges of the AC unit and the cover, and you will be able to lift the cover.
Pro Tips: RV AC Cover Removal
Here are a few tips that can help while removing an RV air conditioner cover:
- Disconnect the AC (air conditioner) unit before you work on it, or else you can get shocked and even burned.
- Always put on safety gear before you start removing the cover. Goggles and gloves are a must.
- This is quite a complicated task, so it is best to keep your children and pets away from the RV’s AC.
- When removing covers, be cautious, or else one wrong move can damage the unit.
Conclusion
Removing the cover of an RV AC is quite simple when you have the right tools by your side. But you should always do it cautiously.
Damaging your RV Air Conditioner is the last thing you want to do before a big trip.
Did this article help with how to remove your RV AC cover? Leave a comment down below!


