How to Replace RV Vent Cover
One of the best things about modern RVs is that they are well-ventilated and don’t turn into ovens. There are several scientifically-proven benefits to keeping your space ventilated. An RV vent cover can help a lot.
Roof vents are standard across manufacturers and allow the hot air rising to the top of the RV to easily escape. The air conditioner promotes circulation, and all together, the ventilation system ensures you stay comfortable in your RV.
Having a roof vent cover allows you to keep the vents open when the RV’s in motion and when it’s raining. But like any other RV part, these covers don’t last forever. A roof vent cover gets battered by hail, rain, and sun, eventually causing it to crack or wear out.
Luckily, you can replace the roof vent cover in a matter of minutes. We will walk you through the steps below.
How to Replace RV Vent Cover
Learning how to replace RV vent cover is not difficult, but you will need to buy a suitable replacement.
Step #1: Buy a Replacement RV Vent Cover
Even if your RV’s vent cover is cracked, you could take its broken remains into a store, and the cashier will help you out. But it’s easy enough to figure out which replacement RV vent cover is right to buy.
Before you head to the store or look for roof vent covers online, you will need to determine three things about your current roof vent cover:
Size
RV vent openings are typically 14-1/4″ by 14-1/4”, but your RV might not have a standard-size vent. Therefore, it’s best to verify by measuring the opening of your roof vent yourself.
Grab your measuring tape and measure the opening of your roof vent. If you want to make the process easier, remove the garnish from the vent, and measure the opening from the inside.
You can verify that you’re getting the right cover by comparing the measurements of your old vent cover with the replacement cover.
Hinge Style
It’s easy to determine what type of hinge your replacement vent cover needs. A simple visual inspection will let you see whether your original vent cover had a three-point, four-point, or continuous-style hinge.
You might find the name of your current vent cover’s manufacturer somewhere on the vent cover.
A Google search might help you find the details of the roof cover. But bear in mind that some manufacturers have changed the style of their hardware over the years, so it’s best to determine the hinge style visually.
Material
Most RV vent covers are made from plastic, but metal covers are not uncommon. Plastic vent covers come in white and grey. Getting a grey one will block out more light, so pick the vent cover’s color according to your preferences.
Step #2: Gather Your Tools
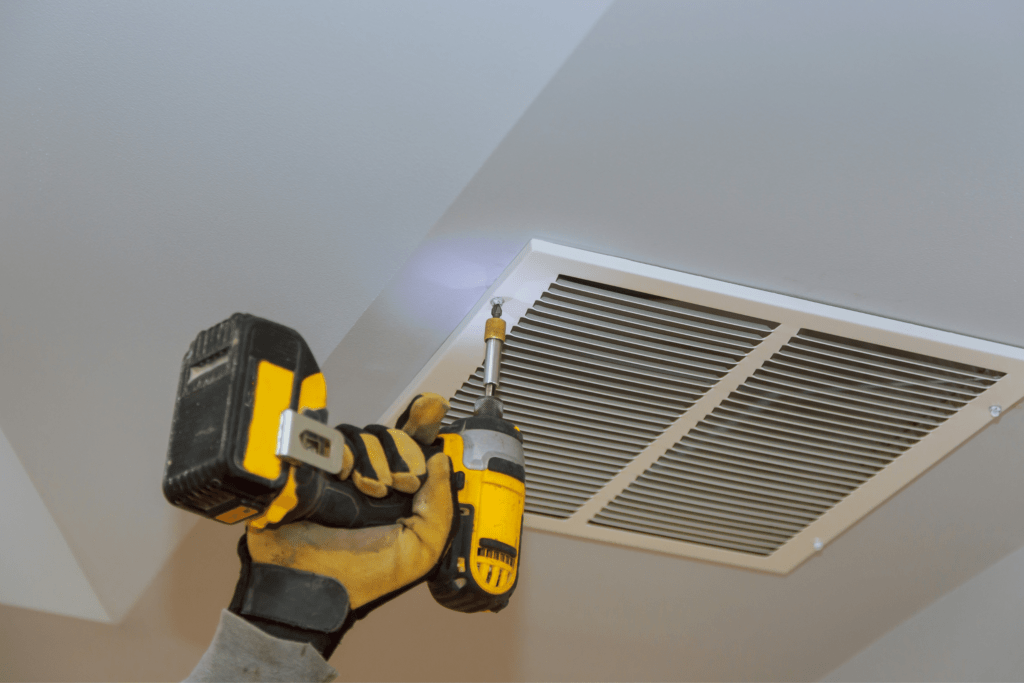
After getting your hands on the right RV roof vent cover, gather all the tools you need to replace the vent cover. Grab a marker, your drill, a screwdriver, a ladder, and a wrench (or rachet) to tighten the hex nuts.
The nuts, bolts, and brackets the new vent cover needs will come with the cover.
Step #3: Remove the Old Cover
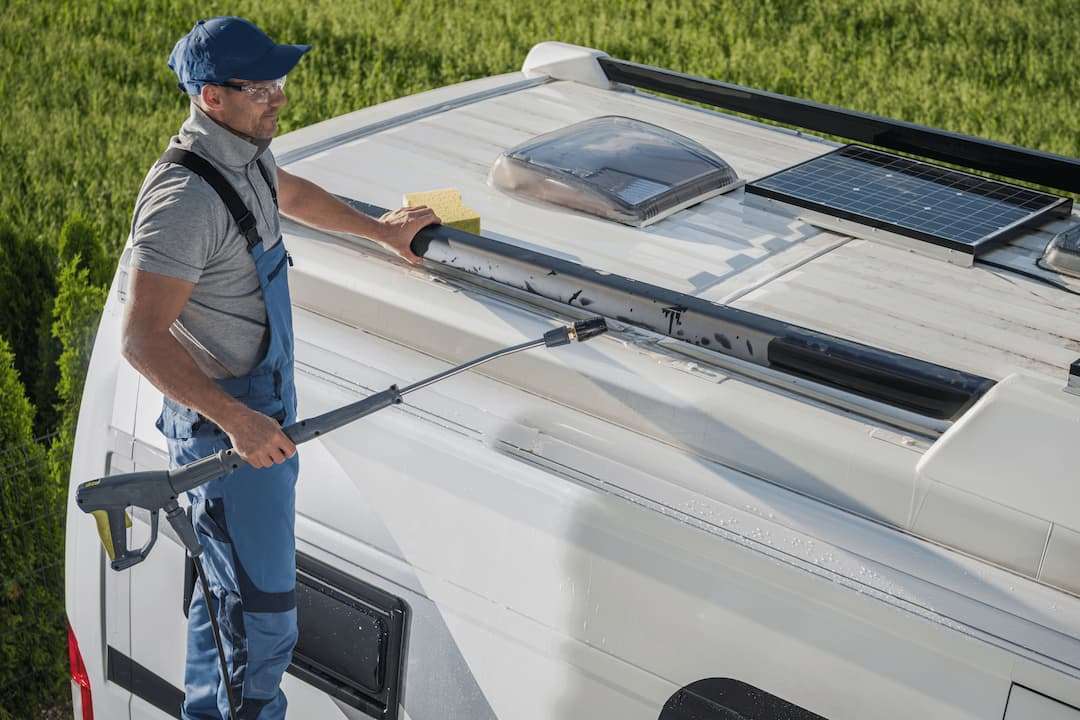
Place your ladder appropriately and get on your RVs roof with your supplies and the replacement cover.
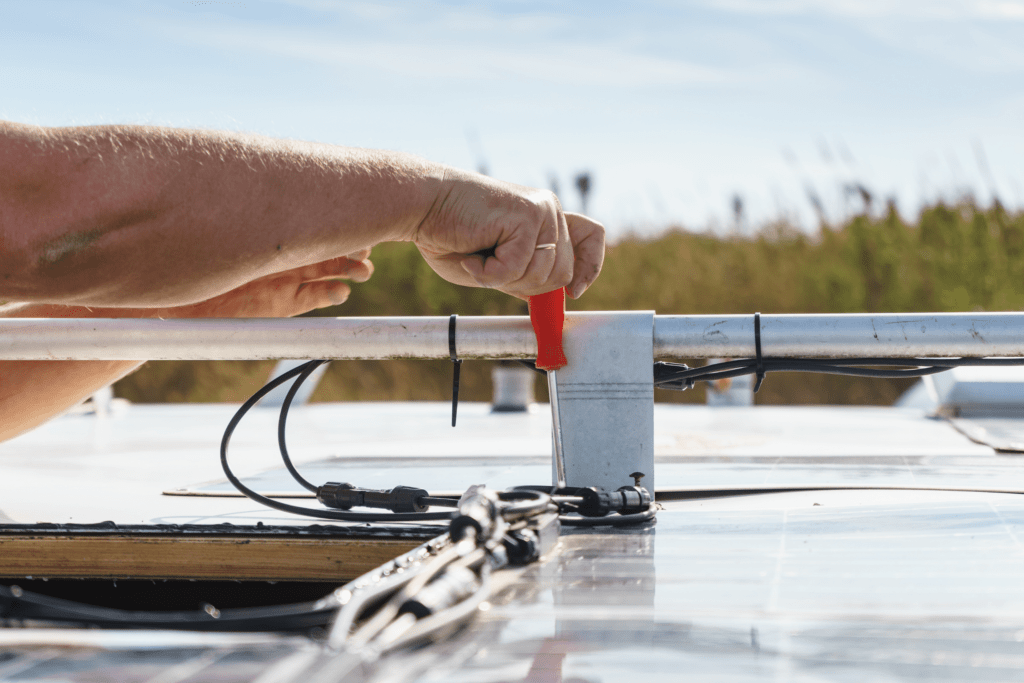
Remove the pins from the hinge, and unscrew the screws on both sides. Then, straighten out the tabs that are inserted into the vent. Now, you can remove the cover.
Step #4: Install the New Roof Vent Cover
Here’s how you install a roof vent cover in ten steps:
- Separate the top and bottom of the vent cover. Set the top part aside.
- Grab the L-brackets which will hold the vent cover in place. There will be four of them.
- Place the four mounting brackets in the right position, and mark where the holes need to be drilled.
- Determine whether there’s access on the back of the bracket for a washer and nut. If not, most roof vent covers come with self-tapping screws, and you can use these.
- Drill the holes with the help of your markings.
- Screw the brackets into the fan’s base.
- Position the cover’s base over the four screws The short end of the base needs to be positioned towards the front of the RV.
- Tighten the washers and nuts.
- Line the hinge of the base with the cover. Shut the lid.
- Use your screwdriver to tighten the pair of screws on the back end of the cover. This will secure the cover to the base.
Frequently Asked Questions
Are RV vent covers a standard size?
Most RV manufacturers stick to providing roof vents in the standard size of 14 by 14 inches. But your RV might have a smaller or larger ventilator. Even if your roof’s vent isn’t the “universal” size, you shouldn’t have trouble finding a cover for your RV.
How do I know what roof vent my RV has?
To determine the ideal roof vent size, measure your vent. Roof vents are typically 14 inches by 14 inches, and the standard roof vent opening is typically 14-1/4” by 14-1/4”. Bear in mind that you will also need to know what type of hinge your current roof vent cover has.
Do you need RV vent covers?
An RV vent cover is essential for most RV owners, especially in RVs without air conditioning. A cover allows you to open the RV’s ceiling vents in bad weather. Furthermore, having a proper vent cover ensures that hot and humid air escapes the RV and a fresh breeze has a chance to enter the RV.
Conclusion
Learning how to replace RV vent cover yourself is the best way to install a new RV vent cover. RV vent covers are an essential luxury that can make your RV much more comfortable.
If you’ve found this article helpful, let us know by leaving a comment!
