What Causes an RV Converter to Go Bad?
Your RV’s lights are dimming and flickering. The vents or fans don’t work correctly. The refrigerator has powered down. The outlets don’t work. The onboard batteries keep running out.
Welcome to the nightmare of a bad RV converter.
And you won’t be able to fix it unless you learn what causes an RV converter to go bad.
Luckily, figuring out what’s causing your RV converter to fail isn’t always challenging. We discuss what causes an RV converter to go bad in this post.
What Causes an RV Converter to Go Bad?
RV converters can go bad in a few different ways. Wear and tear over time might have killed the converter, or one of the components might have failed. Possible problem areas include:
#1 Circuit Board or Breakers
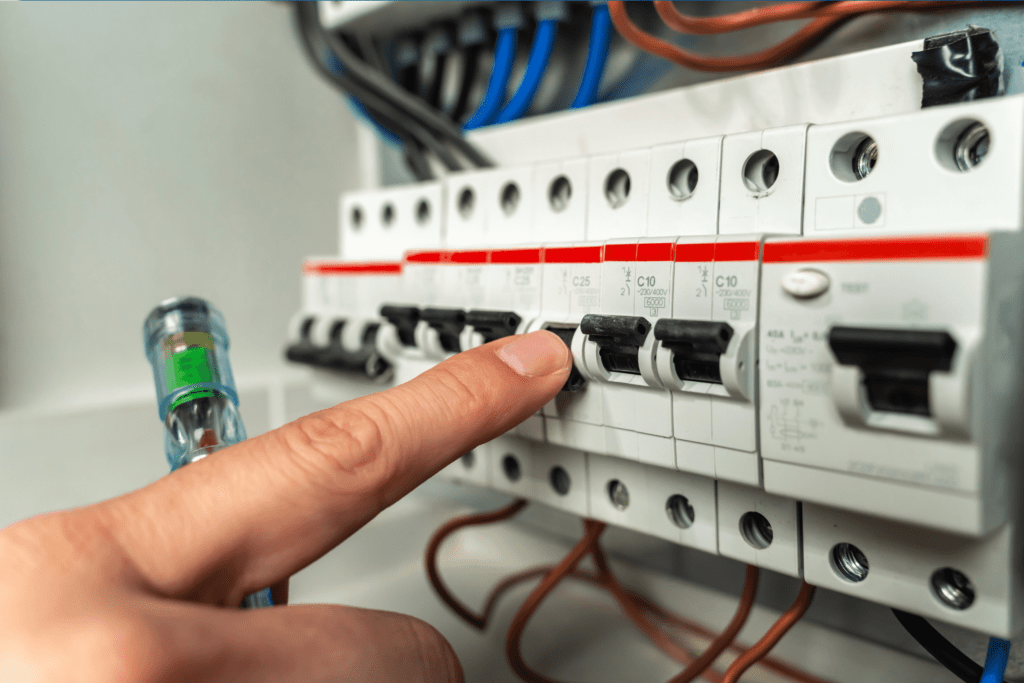
There’s a chance that the breaker is faulty and is affecting the converter. But to check the breaker for issues, you will need patience since it’s a meticulous task.
Pop up the breaker panel and open all the breakers, starting with the primary input breaker. Take a close look at each, checking for signs of physical damage and degradation.
If the breakers look fine, close them in reverse order – closing the primary input breaker.
Now, disconnect the 110V AC power from the pedestal. Remove the independent electrical panel and investigate its backside for corrosion. You might find acid on one of the connector tabs or wire terminals.
You can clean off any corrosion with a toothbrush and a solution of 1 teaspoon of baking soda mixed in 12 ounces of water. Pat dry it with a clean paper towel and let the area air dry for ten minutes.
Reassemble, and test the breakers again. It might bring the converter back to life, but sometimes the acid and corrosion are too severe for cleaning to save it.
#2 Resistors or Diodes
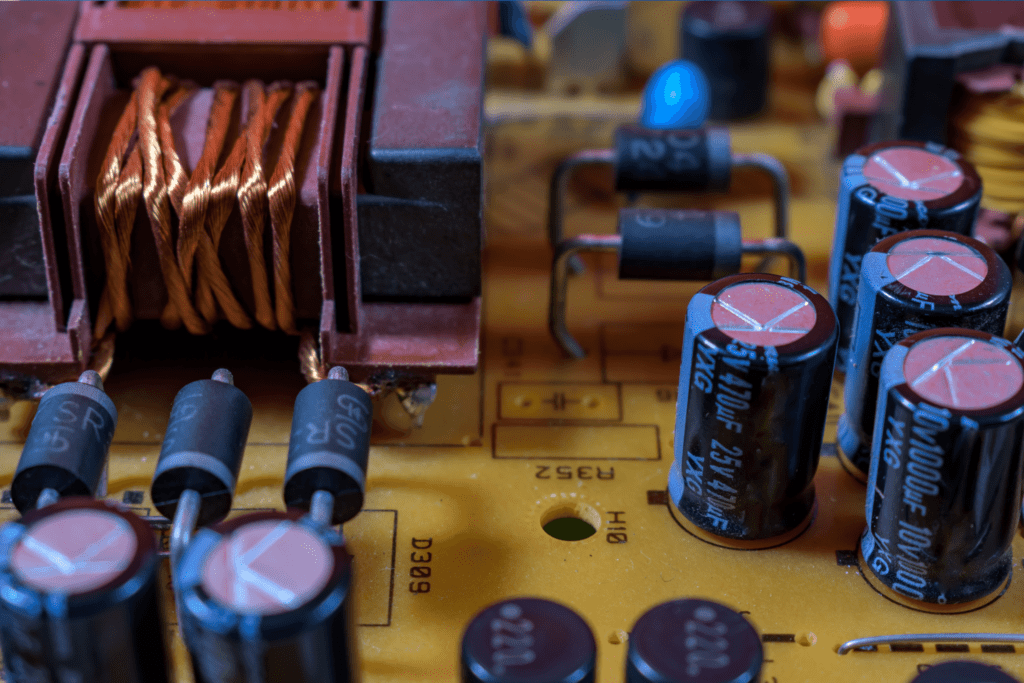
If you have an older RV, there’s a good chance that it uses resistors and diodes to control the onboard batteries and voltage of the electrical system.
A faulty or burnt resistor can render the batteries unable to hold a charge. Checking the condition of the resistors is easy in most RVs. However, in some RVs, you need to disassemble the converter box to get to the resistors.
If you’re disassembling the converter box, try not to damage the other components on the board.
Diodes let electricity flow in a single direction, so when you test them, you must ensure you know which direction the current is meant to flow. If you see a reading, the diode is working appropriately.
But if there’s no reading on either side of a diode, it’s either faulty or burnt. Diode damage is always severe and is typically accompanied by damage to adjacent components on the board.
So, if the diode is damaged, you likely have to replace the converter entirely. Resistor and diode repairs and converter replacements are best handled by a professional.
#3 Fuse
When there’s a short circuit or a power surge, a tiny metal component in the fuse burns, preventing damage to other, more sensitive components.
The metal component in a fuse degrades over time. Ambient heat in the camper can also burn it out prematurely.
If you find a damaged fuse, you should be able to replace it. The amp rating is typically on the back or another part of the fuse. You only need a fuse puller or pliers to pull it out safely. Don’t grip it too hard – it will break.
Ideally, replace the burned fuse with a new fuse with the same amperage. In an emergency, you could use a fuse with a lower amperage. However, under no circumstances should you replace a broken fuse with a fuse with higher amperage.
It will damage other expensive components in your RV.
#4 Power Source
Sometimes, the 110V outlet, connection, entry point, or power source might have an issue that makes it seem like your RV converter is failing.
Check these components. If you find a loose or burned-out connection, you’ve found your problem. The issue might also be with the power post supplying the power. It might be sending power intermittently, causing your lights to dim or flicker.
You can test whether the post is the problem by plugging in any 110V appliance, like a lamp, into the pole. If it doesn’t work correctly, the pole is the problem, and your converter is likely fine.
Issues with power poles are common in older campgrounds. The posts aren’t fully sheltered in these places, which wears them down and causes such issues. But even a leaky outlet cover after rain can lead to a short circuit in these outlets.
Frequently Asked Questions
What does a converter do in an RV?
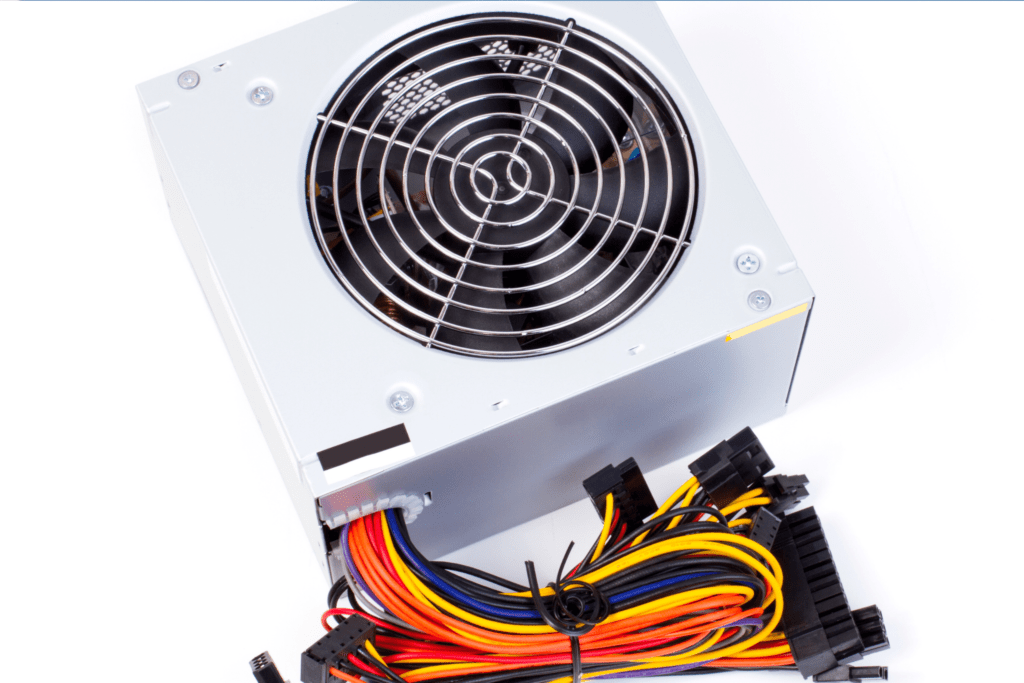
It’s the converter’s job to turn the 120V AC source power (from an onboard generator or a 30/50-amp power outlet box) into usable 12V DC. The converter is meant to prevent the onboard batteries from running out.
Where is the converter located in an RV?
RV converters are typically placed near the control panel. Look for a small fan or vent close to your control panel, and you will find the converter close by.
Why Is My RV converter not charging my battery?
Diode, cooling fan, and thermal sensor failure can cause this problem. The battery connections might be corroded, or the batteries may have worn out. Sometimes, there’s a problem with circuit board components or corrosion. Broken fuses and circuit breakers can also cause the battery not to charge.
Conclusion
If you know how an RV’s electrical system works or are quite handy, you should be able to deal with RV converter issues yourself. You don’t need the training to check for faulty breakers and fuses and test a battery.
However, when you come across burnt components and faulty circuit boards, letting a professional handle repair is the smartest and safest thing to do. They will ensure the problem is correctly diagnosed and resolved.
Found this write-up helpful? Leave a comment below.

