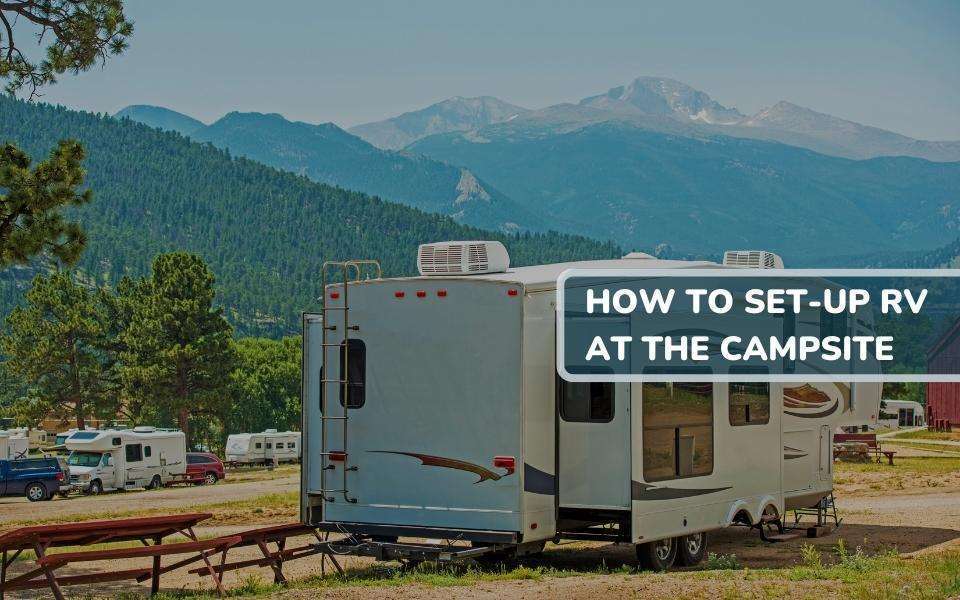
How to Set up RV at Campsite for the Very First Time
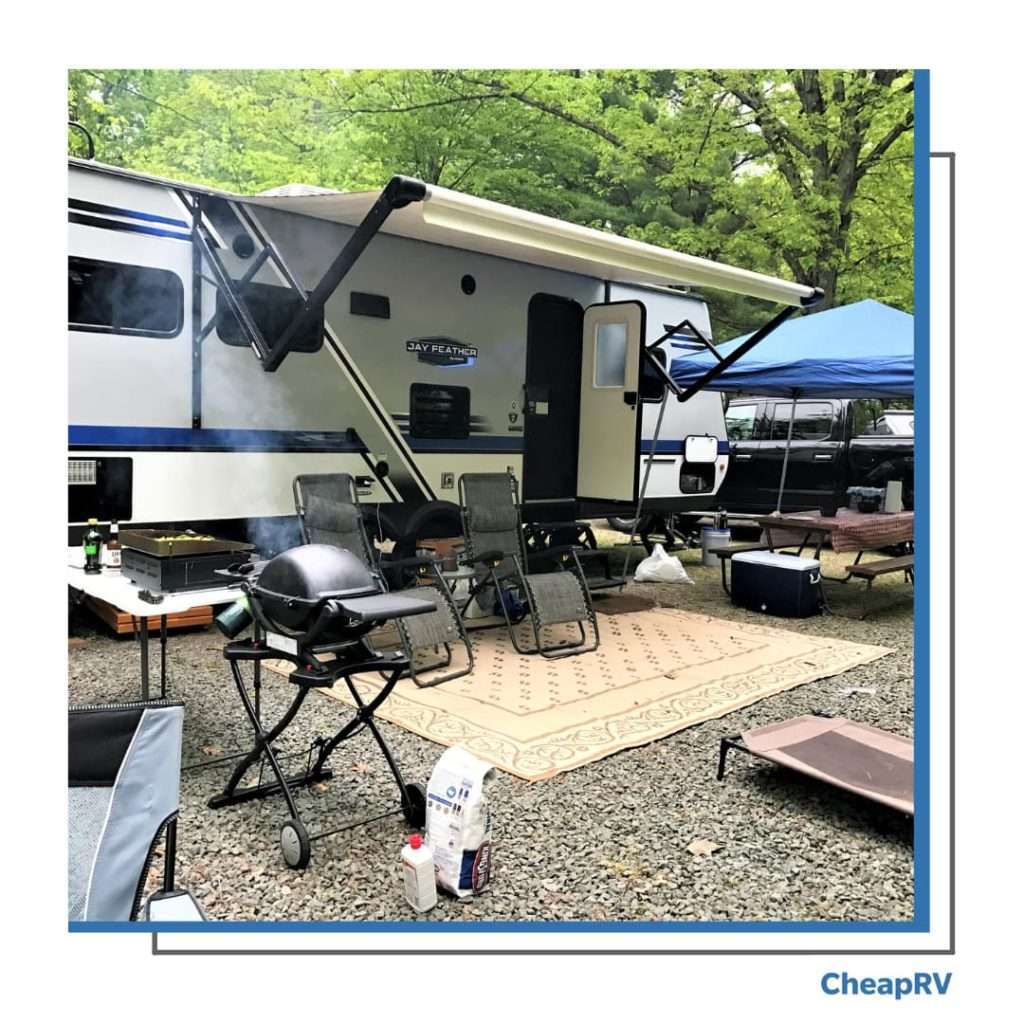
If you are planning a trip that involves an RV campground, don’t worry – setting up an RV at a campsite for the very first time can be easy if you know what to do.
Nothing beats the camping experience of relaxing outdoors with tranquility, a sense of adventure, and the joy of the surroundings. Camping can be a great, cost-effective way to have fun with your family and friends.
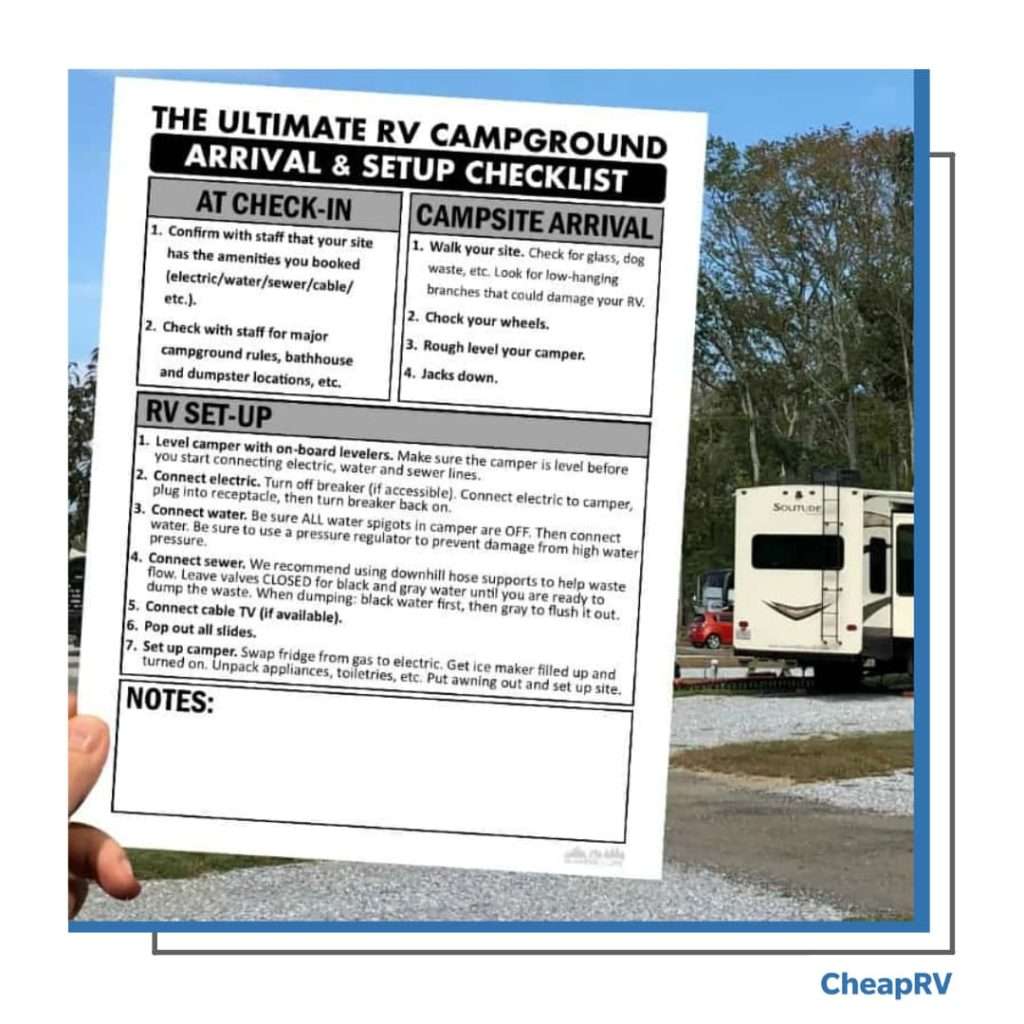
It’s relatively easier to set up your RV just by having a checklist that you have already written. When setting up your RV for the first time, a checklist is a good idea that you should follow to get everything done faster without any mistakes.
Although, as a newbie, just creating a checklist might be enough, as you cannot know everything that setting up an RV entails, knowing the essential things can help. We’ll discuss these important things to help you set up your RV campsite faster and enjoy that vacation with your family and friends.
Setting Up RV At Campsite – A Step-By-Step Guide
Setting up an RV at a campsite won’t be a hassle if you take these steps individually.
Preparing The Campsite
When you arrive at the registration parking lot of a campground, disconnect any towed vehicles and park them in their assigned spots. While driving through the registration process, keep your camping pass in your hand so you can easily show it to the campground staff when asked.
Get a campground map to locate the campsite quickly. It will help you find your way around the campground and will also help you locate all essential amenities such as restrooms, shower facilities, laundry facilities, and dump stations.
Check the site assigned to you and survey it to know if there’s sufficient space or not and if they offer an awning space if required by your rig. Also, check if there are restrictions on how much distance from other campsites you should keep or if there are any restrictions on the type of RV allowed on that particular campsite, such as length or height restriction, etc.
Park Your RV
It’s time to start setting up your RV. You’ve probably been dreaming about this for a long time, so take your time and enjoy the experience.
Your RV is a large, heavy vehicle. It can seriously damage the camper, your tow vehicle, and anything else in its path if it isn’t correctly set up on the site.
The first thing you should do when arriving at a campground is to check that it’s safe to park your RV. This guide will show you how to safely set up an RV at a campground.
First, set the parking brake on your tow vehicle (if equipped) and put it in park or neutral. Set your wheels straight by using a leveler jack on each side.
If you use an automatic leveling system, ensure all four wheels are jacked up equally high so that when you activate the leveling system, all four tires will be raised equally high off the ground.
After setting up your tow vehicle, put down your stabilizer jacks, so they are not in contact with the ground. The reason for this is that when you raise or lower the stabilizer jacks on your tow vehicle, they will not rub against the ground and cause damage or wear holes into them, which could result in leaking hydraulic fluid.
Next, check if your chassis battery has a disconnect switch and disconnect it. It will protect it from draining while you’re sleeping at night or when driving long distances without using any electricity inside the vehicle.
After disconnecting the battery, turn on all the lights within your RV so that they’re ready for use once you return from exploring town or hiking nearby trails.
As part of How to Set up RV at Campsite for the Very First Time, the setup of Electricity For Your RV is very important for safety reasons
Setting up electricity for your RV is a must, especially if you want to enjoy your stay at the campsite. However, this can be pretty challenging if you are unfamiliar with it. This is why we created How to Set up RV at Campsite for the Very First Time
You need to know several things before setting up the electricity for your RV. Firstly, you must know how to test the campsite’s electricity supply voltage.
Secondly, you need to check whether or not the breaker of your RV matches that of the campsite’s breaker box. Lastly, you need to know how to connect these wires properly so that everything works smoothly and safely.
Here is what you should do:
1. Test the electricity voltage at the campsite using a voltmeter
2. Check Your RV’s electricity breaker and make sure it is off
3. Check the attachments and breaker’s adaptor to ensure you are dealing with the correct breaker adaptor and attachments
After this, start plugging all your connections into their respective connection boxes on your RV’s electrical system – starting with the main breakers and moving on to more miniature breakers or outlets until everything is connected correctly.
Setup Water System For Your RV Campsite
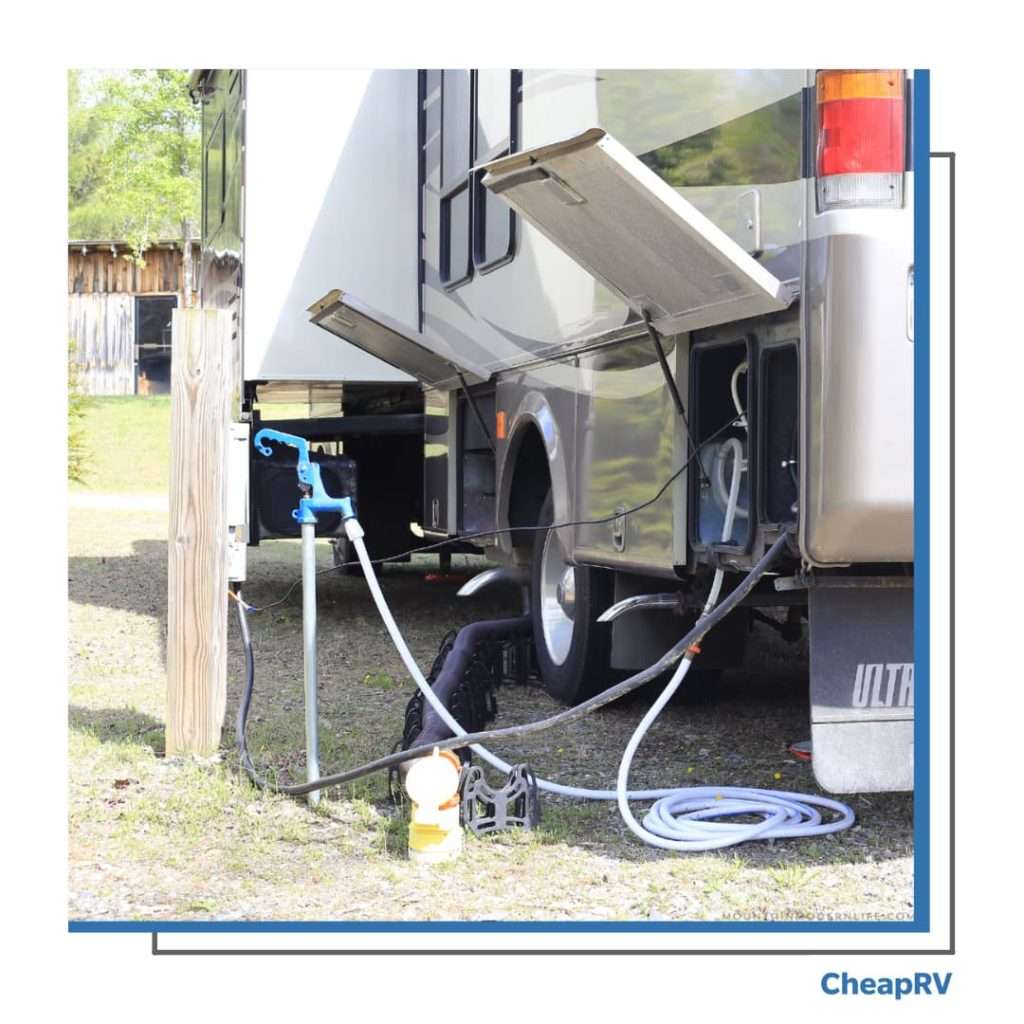
Set up RV at Campsite for the Very First Time – in this case setting up your water supply can be confusing if you’re new to RVing or just haven’t done it in a while. First, you’ll need to connect your RV’s water hose to the camp supply and ensure enough water pressure for your needs.
The first step is to connect your RV’s water hose to the camp supply. Avoid using the water pump as it can be very noisy and disturbing for other campers.
Ensure the water supply is fresh and clean before using it in your RV. If you do not have access to fresh water, use bottled water or get it from the campground office.
Next up, set up your RV’s pressure regulator and attachable filter before attaching them to your camper’s water line. Finally, ensure that everything is working correctly, so there are no leaks when you turn on your motor home’s faucet for the first time.
Setup Sewage Drain For Your RV
Many campgrounds require that you use their sewer system instead of having your own. This process includes hooking up hoses and using a seal or donut required by law in some states. If this interests you, then make sure you check with the campground beforehand to see if they have these requirements.
Here are some simple steps on how to set up your RV sewer:
Wear Gloves before attaching sewer hoses to your RV. If you’re setting up your sewer hose at an RV park, there’s likely a dump station already in place. If not, you need to attach your RV’s hose to the sewer connection. When doing so, wear gloves for protection against germs and bacteria.
Turn on the locking tabs and make sure it is properly secured. Some campgrounds require a seal or sewer donut, ensure the seal on the sewer connection of your RV is secure. The manufacturer should provide one with your purchase; otherwise, a simple rubber band will suffice.
Make sure that it is securely fastened around the connection point so that no leaks occur when running water through it during use in campgrounds, with dump stations available for use by guests staying there during their visit.
Make sure your grey and black water lines are closed. Then connect your sewer hose to the closest sewer hook-up. If you have a double-hose sewer line, run both hoses over to the sewer hook-up and connect them.
Run the sewage and then run the black and grey water. It will empty any remaining water in your tanks and flush out any sediment that may have built up in them.
Setup LPG, heater, and Cable
As part of “How to Set up RV at Campsite for the Very First Time” You’ll need to set up your heater if you’re camping in the colder months. Setting these up will be easy but follow these steps to ensure proper setup:
1. Locate the gas bottle and connect it to the heater.
2. Turn on the gas supply valve and light the pilot light. The pilot light should stay lit until you turn off the gas supply valve. If it goes out, repeat steps 1 and 2 until it stays lit.
3. Inspect all connections to make sure they are secure and leak-free.
4. Check that there is no smell of gas coming from your heater or its fittings. If there is a smell of gas, shut off all electrical power to your campervan and leave it for at least 24 hours before starting again with step 1 above.
Black and Grey Water Dumping
If you are staying at the campsite for a few days, slightly open your RV’s grey water tank valve – this will allow some water to drain out into the sink or toilet. Leave the valve closed if you’ll be staying for one night.
Only open up the Blackwater valve when it is full or 2/3 full. It can take anywhere from 1-3 days, depending on how many people use facilities inside your RV and how often they flush their toilets.
To dump your black and grey water properly, follow these simple steps:
1. First, completely open the valve for your RV’s black water tank and let it drain.
2. Once the dumping becomes complete, close the valve.
3. Now dump the grey water tank by opening the tank’s valve.
4. After the black water tank dumping, open the valve to flush the sewer hose and remove any gunk left in the tank.
5. After dumping the waste water every time, you should treat your RV’s black and grey water tank.
Do not overlook any of the steps mentioned above, or it will cause issues for you during your stay at the campsite. You should never forget that you can’t know everything at once, so take your time with it and read the RV manuals to get any minor information that this guide has not mentioned.
Also, keep an accurate inventory of the items you need for your setup. Make sure to find out how much voltage your amp breaker can handle, and bring spare parts and tools along, just in case.
Conclusion
This guide was not made only for absolute beginners but for regular RVers too. The basics we’ve outlined should give you a great start in setting up your RV. The key takeaway here is the checklist. No matter how experienced you are at RVing, you should always follow this checklist. With good organization, your entire setup will be a breeze.
This guide might seem like a lot of information, but once you get the hang of it, it’ll all come together. You’ll become a pro in no time at all. Once you do, the only thing left to do is pack up your belongings and hit the road! Good luck!
